I love KS LEV and RS Reverb seatposts. They are both the best in the business and excel in different ways.
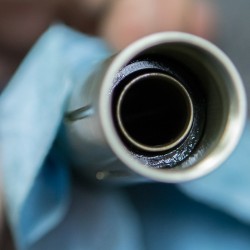
Most people think that the LEV isn’t serviceable. It is. Like anything else. The 30.9/31.6 versions come apart easy enough with a right angle snap ring tool. Functionality is similar to the Reverb. It’s got a much nicer main valve.
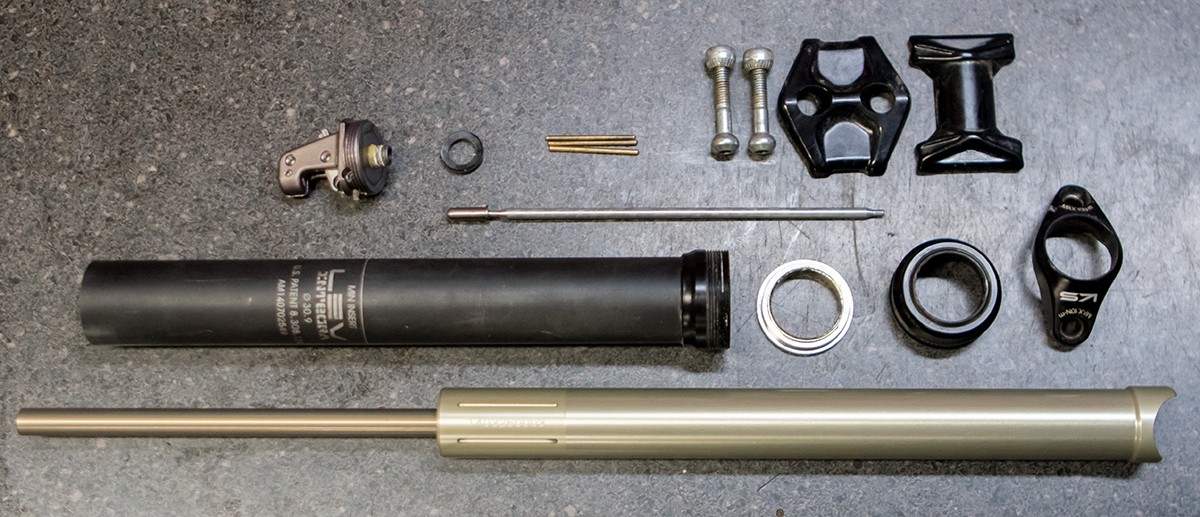
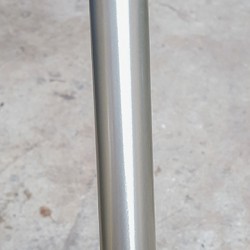
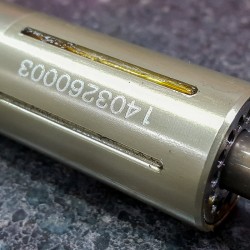
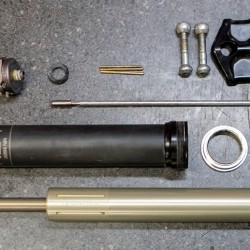
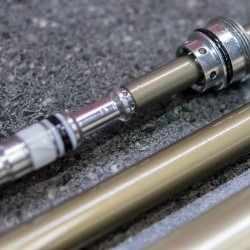
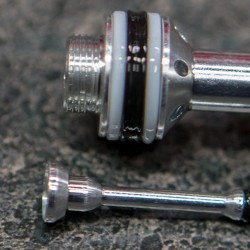
The main components of the system.
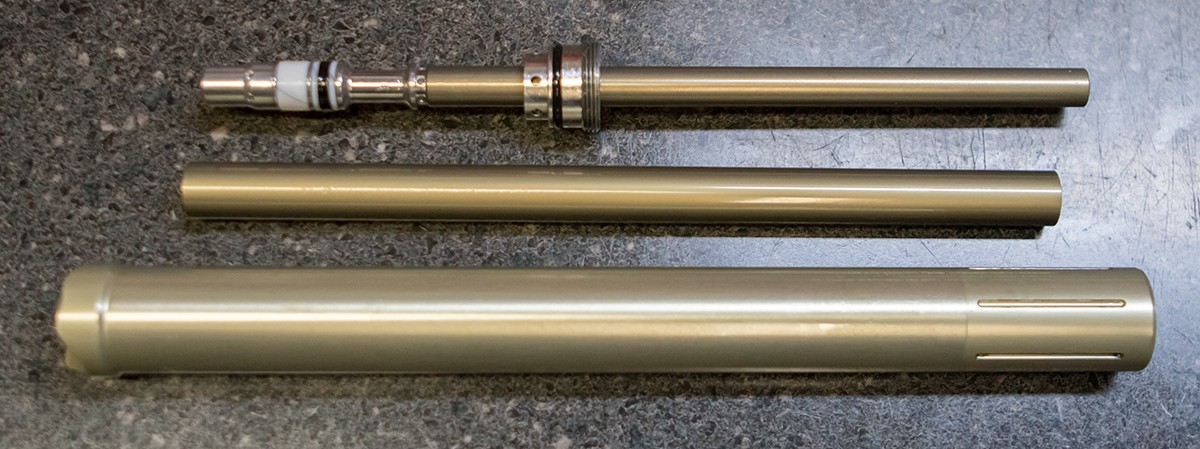
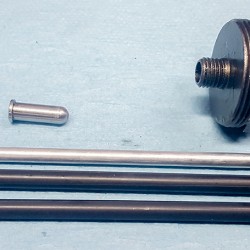
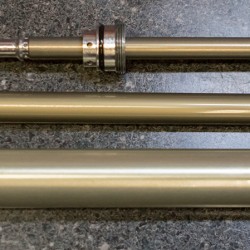
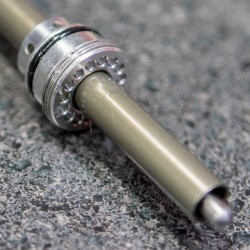
The cartridge taken apart into the main service components.
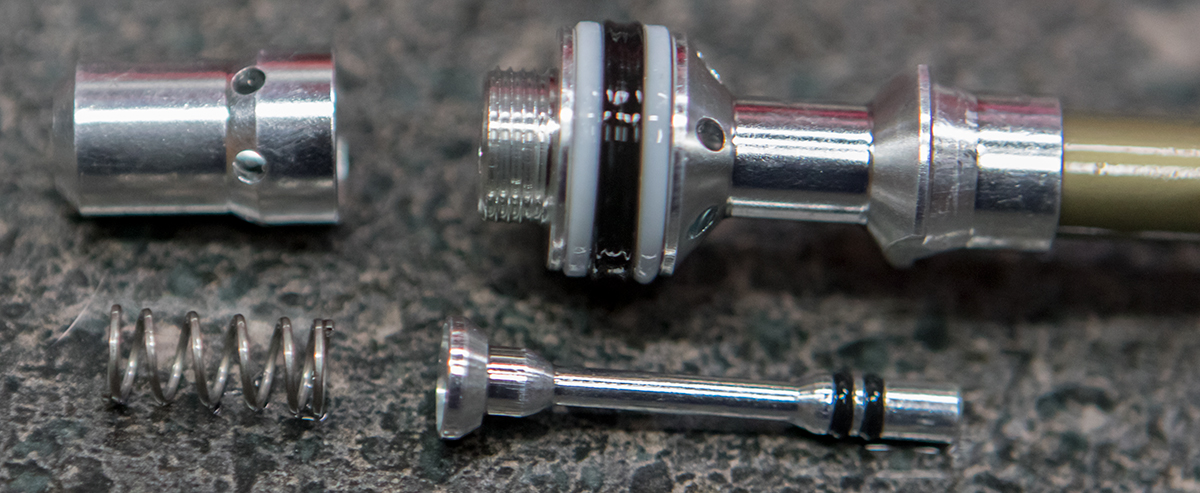
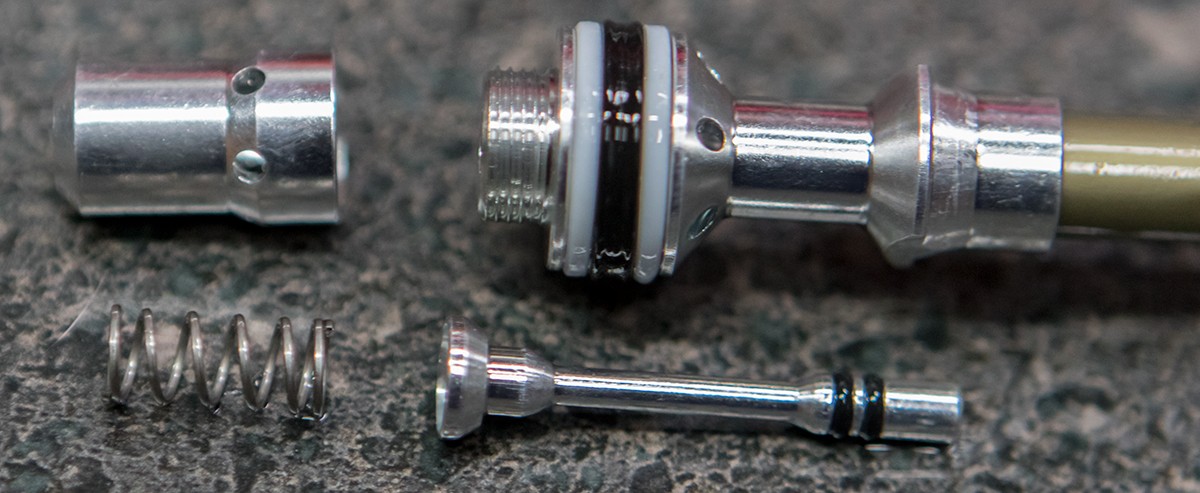
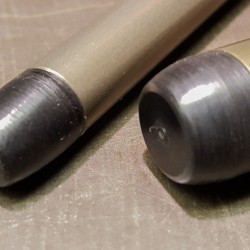
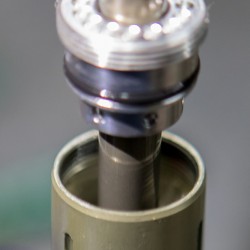
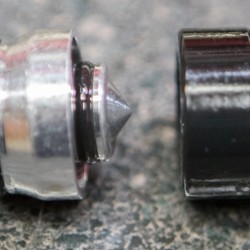
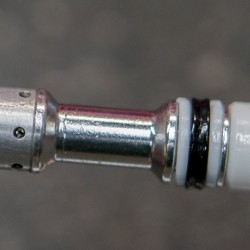
Here is the main valve taken apart to show. Solid.
Tuning the system:
Refining the speed of the system is the typical goal of a KS tune. The system is very susceptible to seal and part drag, slowing it down. Stiction is the big enemy!
Air pressure:
From the outside, you can usually play with air pressures between 200-250 psi. Less than that and the system usually can’t overcome initial stiction.
Full stroke lever:
Make sure to use a control lever that provides the maximum cable pull possible. A KS Southpaw or similar lever is the strong preference. A short pull won’t open the valve very much.
Rod length:
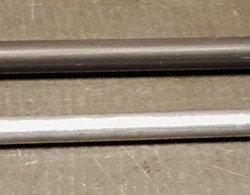
Adjusting the rod length can improve the response and speed of the post, effectively opening the valve earlier in the control stroke and more open in the end. I changed the length of mine from 156.7mm to 158mm. Small change but it made the post respond so much nicer.
Damping Fluid:
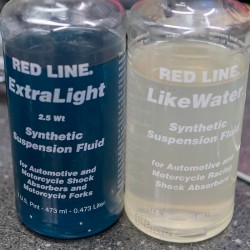
Of course I replaced the stock fluid with Red Line Extra Light Fluid. It’s very nice in there. I had tried using Red Line LikeWater but the speed of the post got destructively fast. Stay with the blue.
Lubrication:
These posts are put together quick at the factory. You can help the post out a lot by paying a lot of attention when assembling them and lubricating them with Slick Honey so that they have ample clean grease everywhere needed.
Torque:
As supplied, the posts are assembled with almost no torque, almost loose. I put mine back together quite solid so there’s little opportunity to fail.
Be Careful:
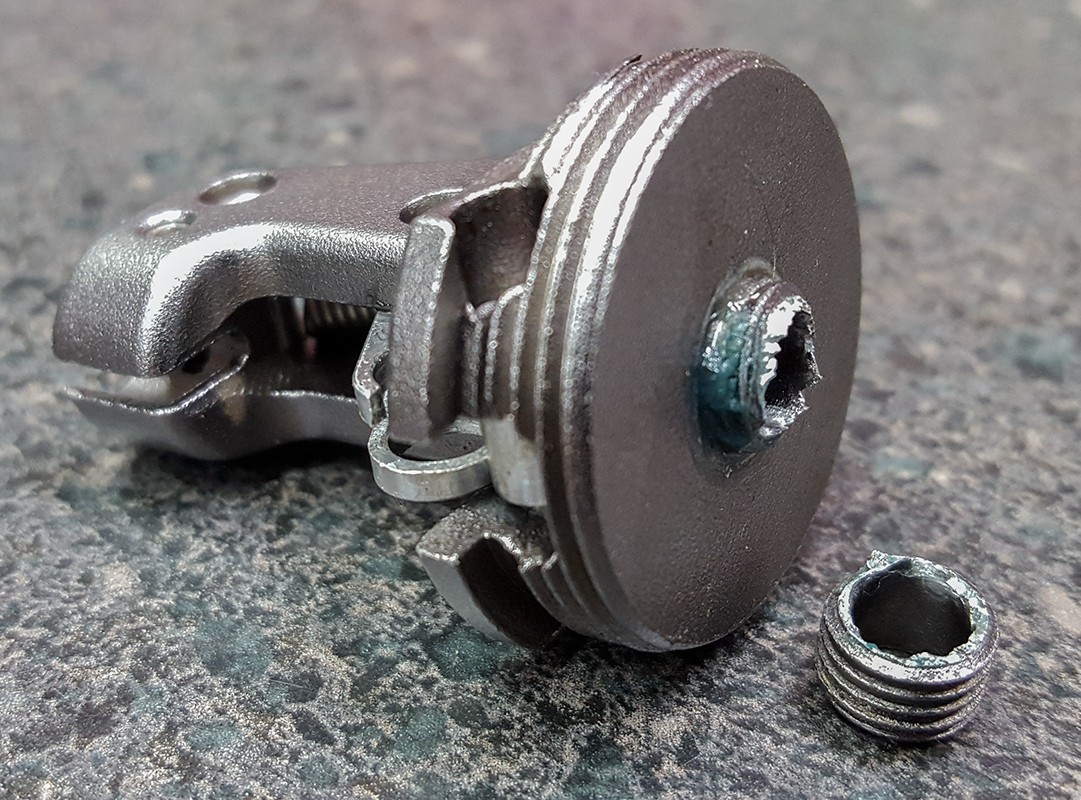
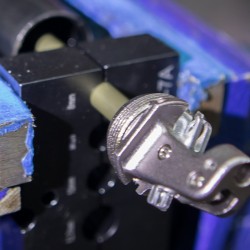
The actuation are mechanism is die cast. Even if you are careful, they can break off in your hand. Be nice. The one shown here was not abused in any way. It simply fell apart.
Special tools:
Aside from a right angle snap ring tool and good fluid, you will need two things. A quality set of shaft clamps like the BBI set (I highly recommend these!) and a pair of damper assembly bullets to put the seals over the shafts. You can get by without these a couple of times but you will need them if you want to guarantee your work and have it last over time.
Travel adjustment:
Ronen needed just a little space to fit his KS LEV 150mm into his bike with the right saddle height. We decided to shave the travel down to 140mm. My initial prototype spacer was made of Delrin but that proved to be no match for the return forces of these monsters. The final draft was an aluminum spacer that succeded fine. Pretty cool. Every millimeter counts on a seat. Say no to 125mm!

