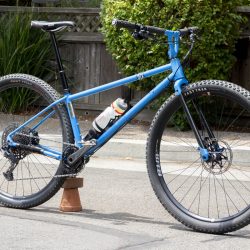
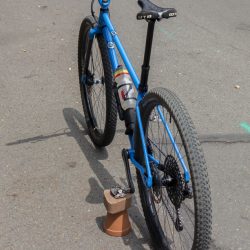
Construction of the TIE Advanced X1 (Released early July) was turning a bit frantic and wild near the end. Every build that I do seems to have new features and complexities that involve even more new tools and solutions that compound production and suck up much more time than a simple redesign shown on paper. The final push to close the door on anything like this is a monumental task. We need to cut the fluff and get it out the door.
I had wanted to make a proper fork for the bike and knew there was real value in printing handlebar parts. I just had to delay all that and get the frame itself moving through the system. As time allowed during the process, I was able to work on the designs for the fork and bars and got them to print while I was test riding the new frame. Printing now has a 20 day lead time so that is the bottleneck. The testing and riding have been so awesome and a real improvement in many ways documented.
Now, after getting the prints in hand, completed parts are on the bike and begins another round of testing.
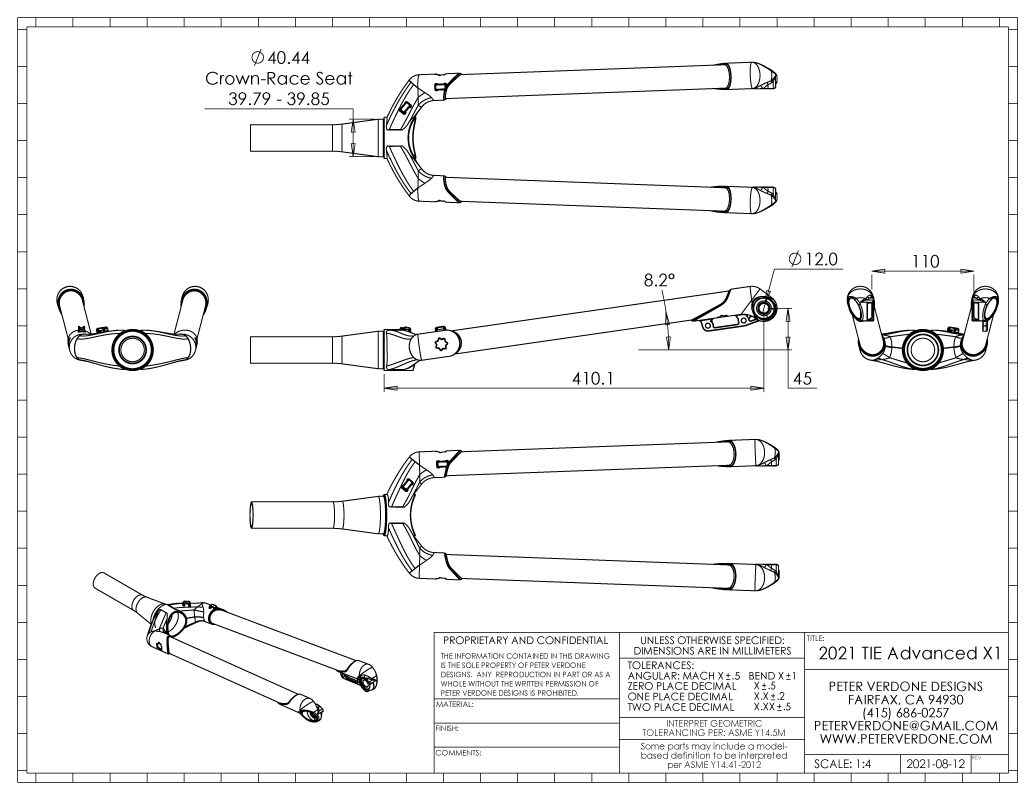
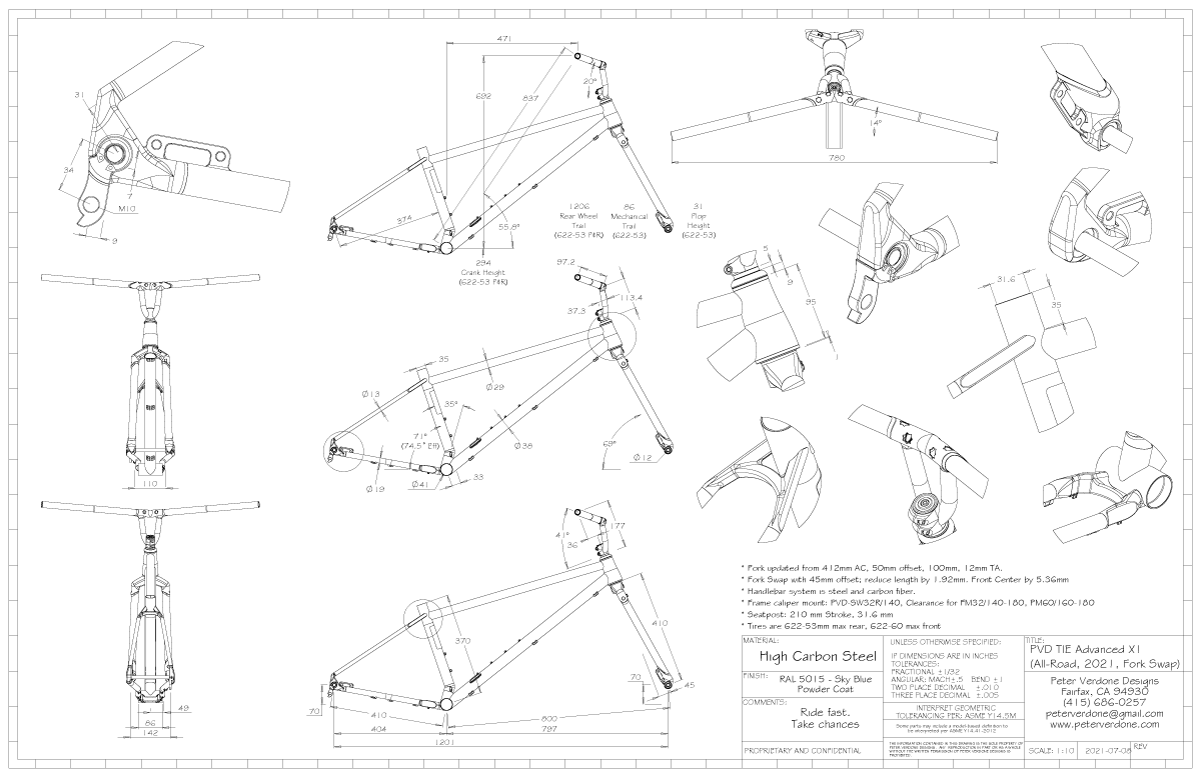
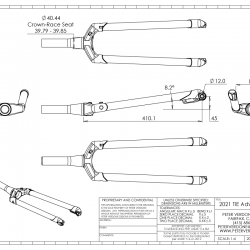
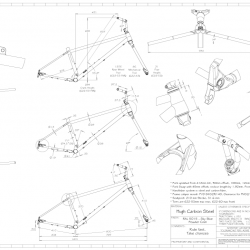
The TIE initially went together with a Whisky No.9 MCX fork. The geometry of that fork (standardized) is 412.0mm x 50.0mm. I wanted to move to a little more trail on the bike to gain a little more composure in rough. The initial design had 80.6mm of mechanical trail and 28.9mm of flop. Going to a 45mm offset would change that to 85.6mm of mechanical trail and 30.7mm of flop. It’s a slight change but that’s the game, eh. Refine up to the limit. Hopefully, I don’t loose the nice low speed feel on pavement but gain a little more speed on rough trail.
To keep all of my geometry consistent for the frame, a little math calculated that I needed a fork length of 410.1mm with the 45mm offset. This, of course, moves the wheel back to 799.6mm. Down 5.4mm from the initial build of 805mm. This is a shame as I feel that the bike could still use another 10-20mm of front center.
The fore/aft flex of the new fork should be another improvement over the Whisky fork that is just way too stiff for this kind of bike. Testing will show if that’s true.
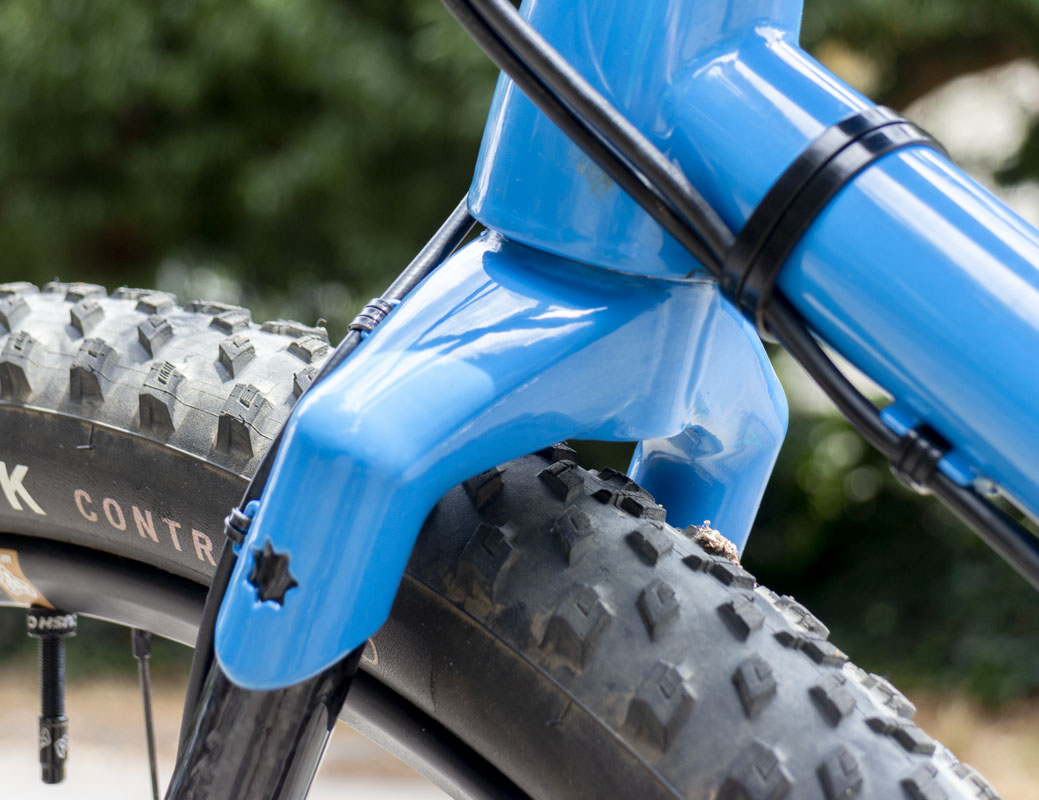
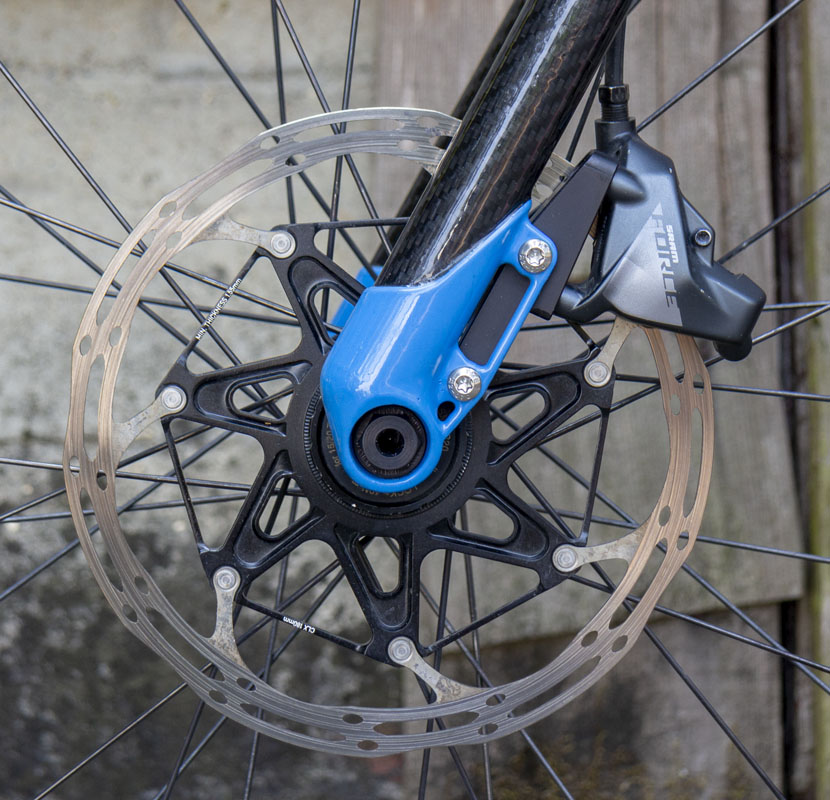
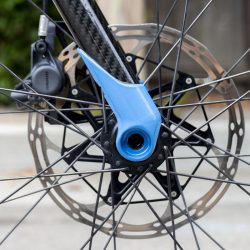
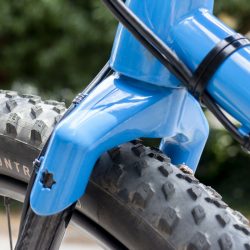
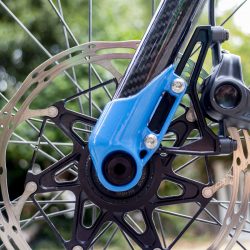
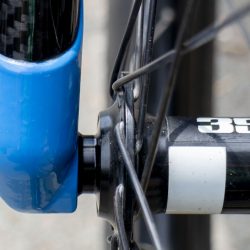
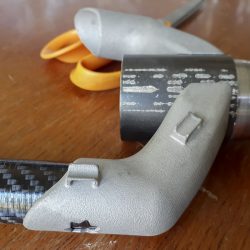
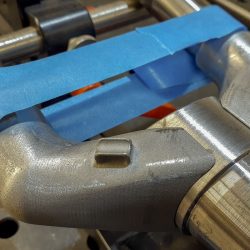
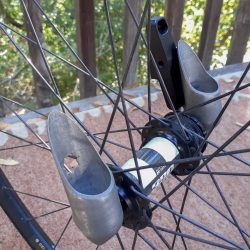
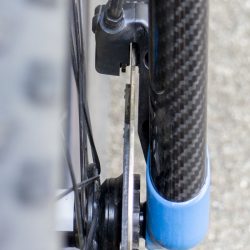
The fork ends are a derivation of the Supermarine Spitfire fork ends, just taking advantage of what printing can do rather than welded fabrication. This smoothed things out considerably and hopefully improved strength while minimizing weight.
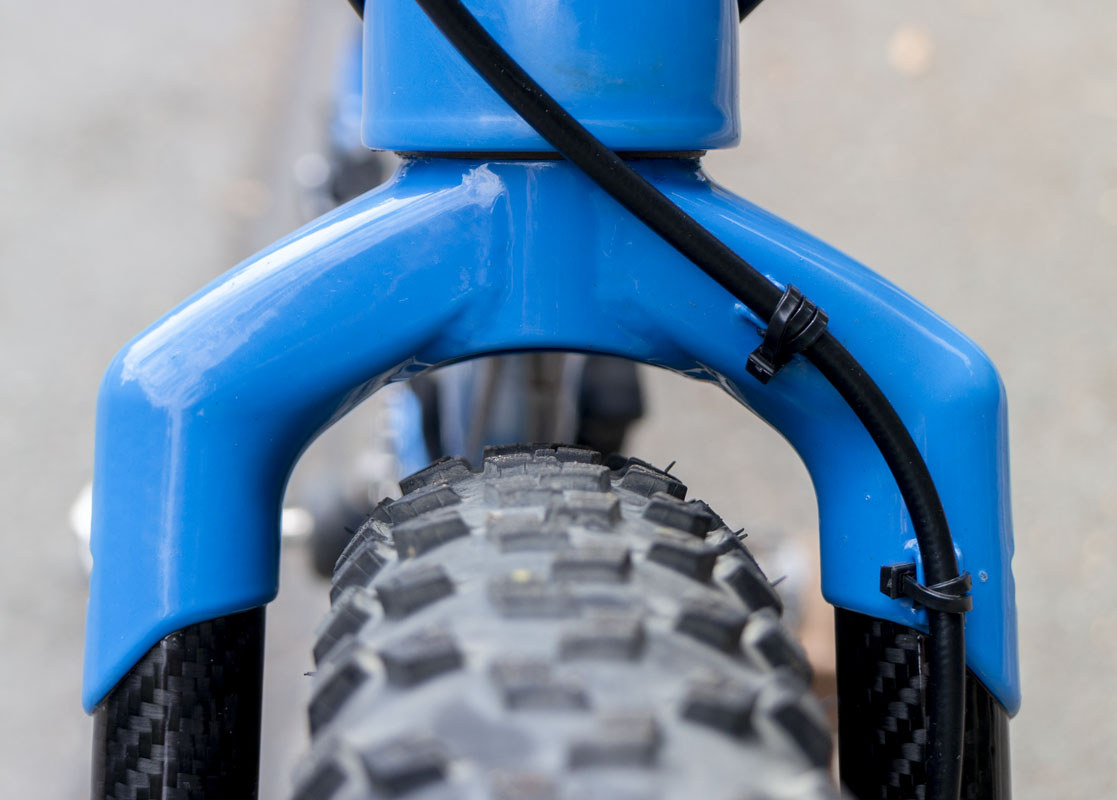
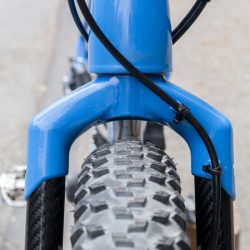
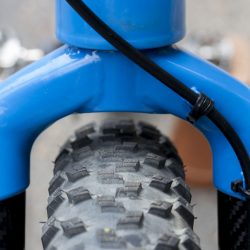
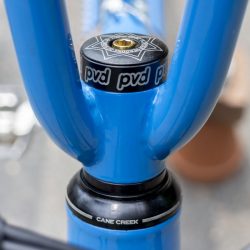
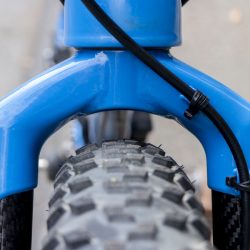
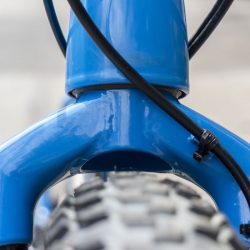
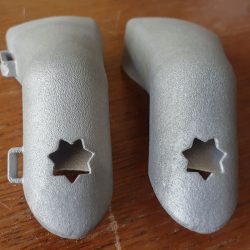
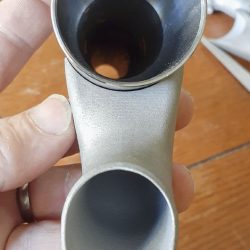
The fork crown, on the other hand, is a significant departure from anything I’ve been able to do in the past. I built my first prototype forks at Fat City Cycles back around 1991 and have made all kinds of forks on my own since 2006. I’ve done all kinds of cutting edge designs and this fork is well above any of that previous work. The way the crown wraps around the steerer and and cups legs, the flow around the stress and strain in the system, is just crazy. It’s blowing my mind still. More, being able to build the hose guides right into the structure saves work but gives precise control.
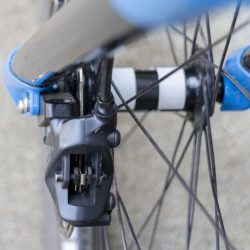
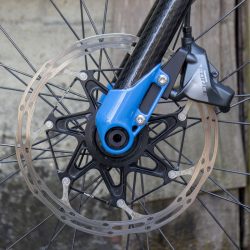
Of course, this is exactly the situation that the PVD Sidewinder caliper mount was designed for. I opted to first mount the Level PM caliper in place of the Force AXS FM caliper. They are functionally identical but I thought that the PVD SW-PM180 adapter would really make the fork pop from a tech aesthetic. I may move back to the SW-FM160 configuration as the thrill fades. Who doesn’t like MOTO-GP aesthetics?!
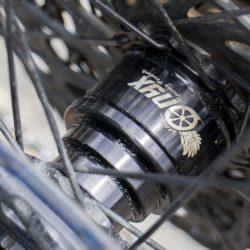
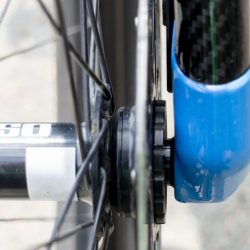
110mm hub spacing was used as I’m not a fucking moron and this is a bicycle, not a toy.
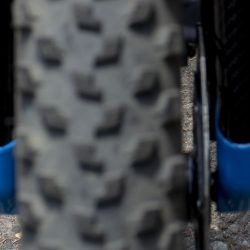
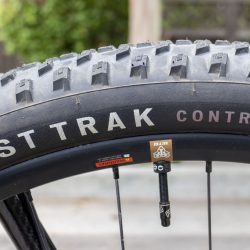
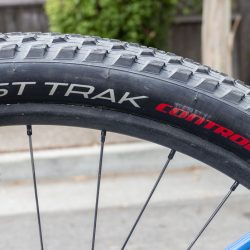
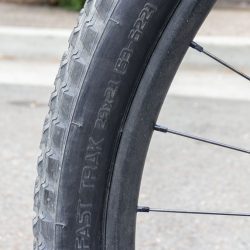
In my modeling for the fork and the crowns, I found a bit more room in the geometry that should allow for a 622-60 (29″x2.35″) tire or larger. This is another performance improvement as very high volume tires are critical for real speed on a rigid fork. I’m still looking for good, light, low tread, high volume tire for this configuration. It my be the Maxxis Aspen 29×2.4″ or the Maxxis Ikon 29×2.6″ tire. I’m currently riding the bike with the same Specialized tires that Phillip Norman used in his 100 mile race. He flowed them to me. 29×2.3″ up front and 2.1″ in the rear. The rear tire is a little big and just fits in the frame with about 6mm of clearance. On the fork, the 29×2.35″ has plenty of space for fender when winter comes. Until then, I still want that larger volume tire.
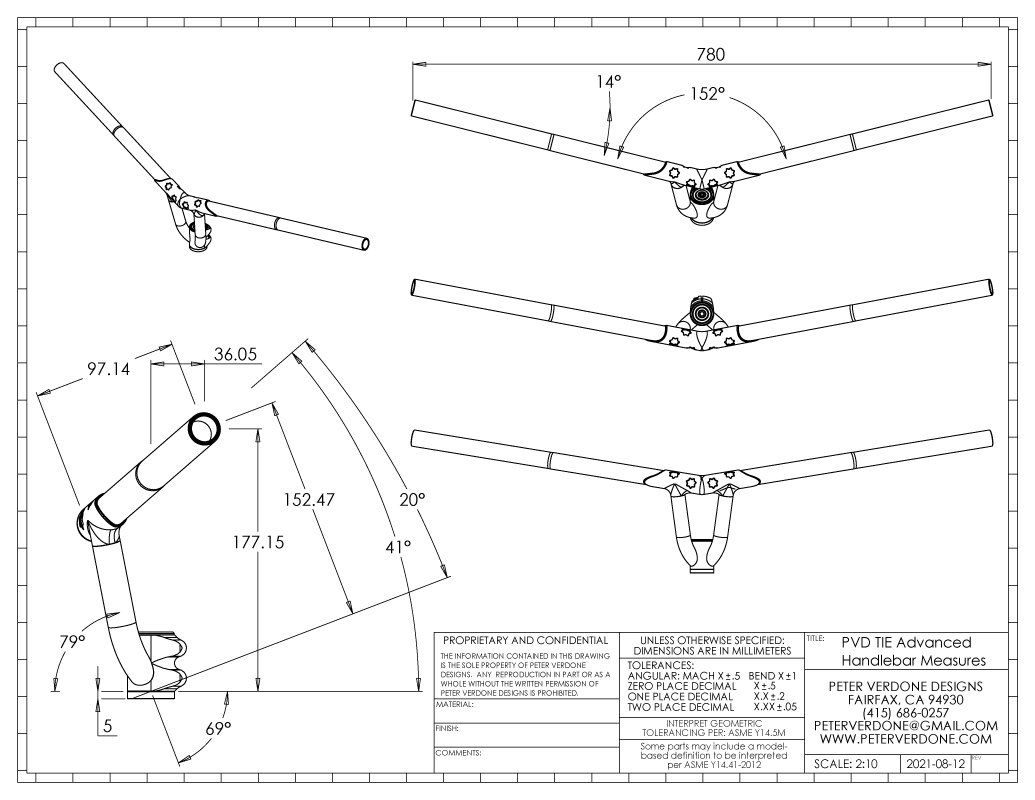
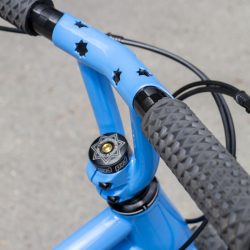
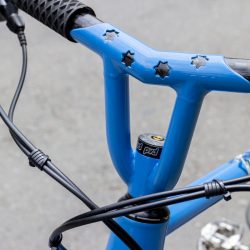
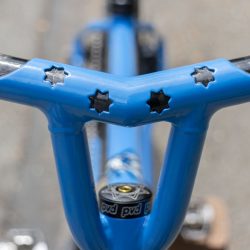
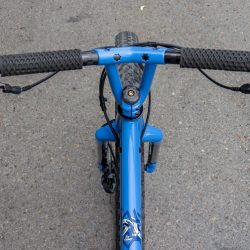
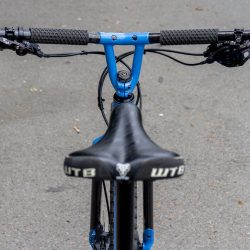
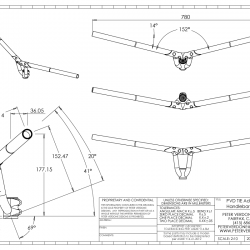
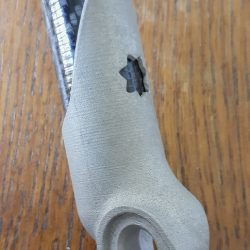
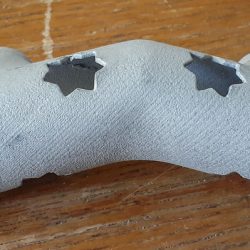
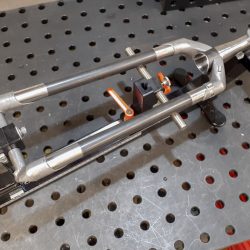
The handlebar lug print helps the welded lug take up a lot less room than past fabricated parts. A 0.00″ CLR rather than a 3.5″ CLR does much of that. Also, I was able to remove a lot of material that was in place simply due to the realities of making the bend and tooling. Where the struts meet the lug, I could shape for distributing stresses in a more efficient way than a simple weld fillet. In the end, I’m still refining this method and tooling so that these types of bars can be produced with a lot less of my time invested in them.
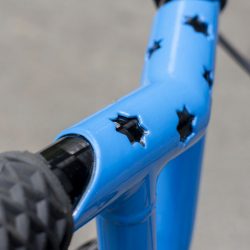
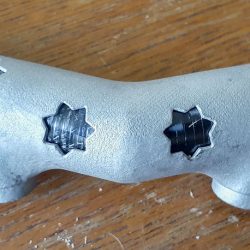
The Marin County Sheriff star cutouts throughout was just playing with ornamentation that was in theme with my PVD stickers. I don’t know where this is going. Obviously, if I’m at the true limits of the materials, this creates a wicked stress riser and may lead to failure. I still think that I’m far from that and most of the stars were placed in low stress locations.
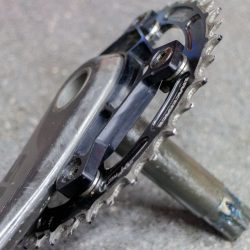
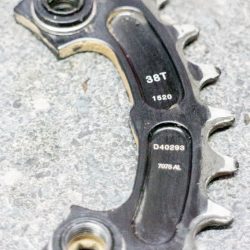
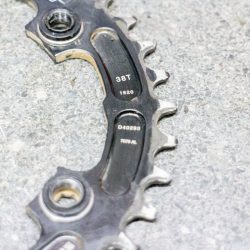
I’ve done a couple of other fine tuning bits to the bike since the original post. I reduced the gear from 40/10-52 to 38/10-52. It’s a lot nicer for most dirt use in Marin. It goes really really fast. It’s definitely the fastest dirt bicycle I’ve ever owned. I never thought I’d be using a 38t ring on a 622mm wheel for trail riding.
I also changed from the cheapo bottle cage I normally use to a Specialized Zee Cage. It looks kinda cool. People have said that it’s great. We’ll see how well it holds without a leash.
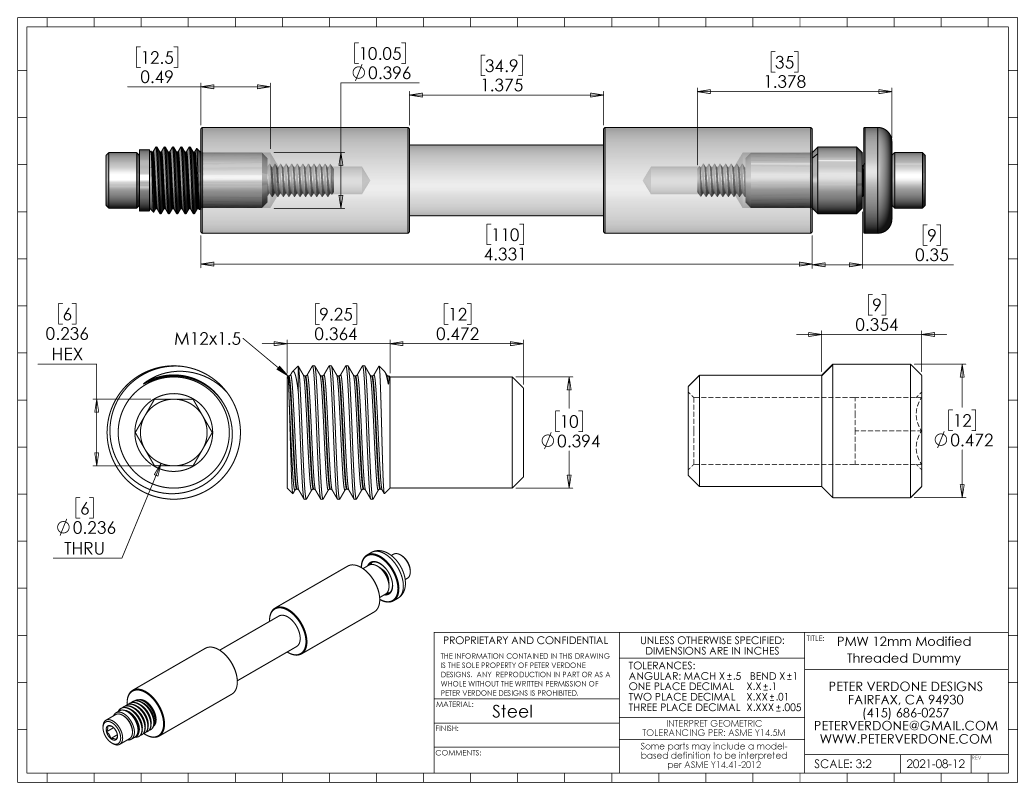
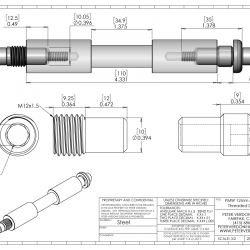
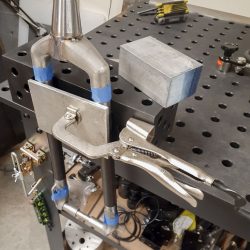
For fabrication, I’ve modified my dummy axles to better deal with the M12x1.5 threading on axles. This is going to trickle out to all of my dummy axles as it give a lot more purchase and precision with higher performance dropout designs. It’s also nice when working with gluing segments where the dummy can be slid out without disrupting the legs/stays.
TEST RIDE #1: 2021-08-12
The look of the handlebars while riding is very cool. It’s nice and narrow. The sharper point of the bend leads me down the trail. The feel of the bars is nearly identical to the original bars.
The fork is very different from the Whisky. It got so much more lateral stiffness that the tracking is just nuts. It’s like a laser. I’m unsure how much of the feel on trail is just lateral stiffness. I’m going to set up a test in my shop to measure the deflection in several axis of several forks I have around to get some good numbers.
It’s wild looking down while out of saddle climbing and looking at the head tube and fork crown transition. It’s a blue wave. Strange but cool.
The Specialized Zee cage is garbage. The bottle shot out twice on the first half of the ride before I handed it off to my wife for safe keeping. The search continues.
Test Rides, #23456
It took a couple of rides to start trusting the new fork. That’s hard to do with so many new things going on there. How hard can it smash? When will it snap? Why am I thinking so much about the fork when I need to focus on that rock?!
I was having a lot of trouble at first. Riding a full rigid bike fast and hard requires a very finely tuned setup. I had spent much of the first ride with air pressures in the front tire way too high. I got them down a ton and it made a big difference. I wasn’t pinging so much and was tracking. Frustrating to have that so off from the wheel swap.
More, early rides on real prototype parts means I’m devoting a lot of my bandwidth while riding to analyzing and understanding what the parts are doing rather than just riding and ripping. As trust grows, and the early thoughts settle, flow starts.
Once I got the flow, the fork felt a ton better. I could really drive it hard and in some ways, it kept feeling better the harder I drove it. I’m liking it a lot. It’s all definitely an improvement.
I swapped out the post mount caliper on the fork to a flat mount. I think it’s a lot cleaner and nicer looking even though the post mount adapter is very cool. Braking felt identical.
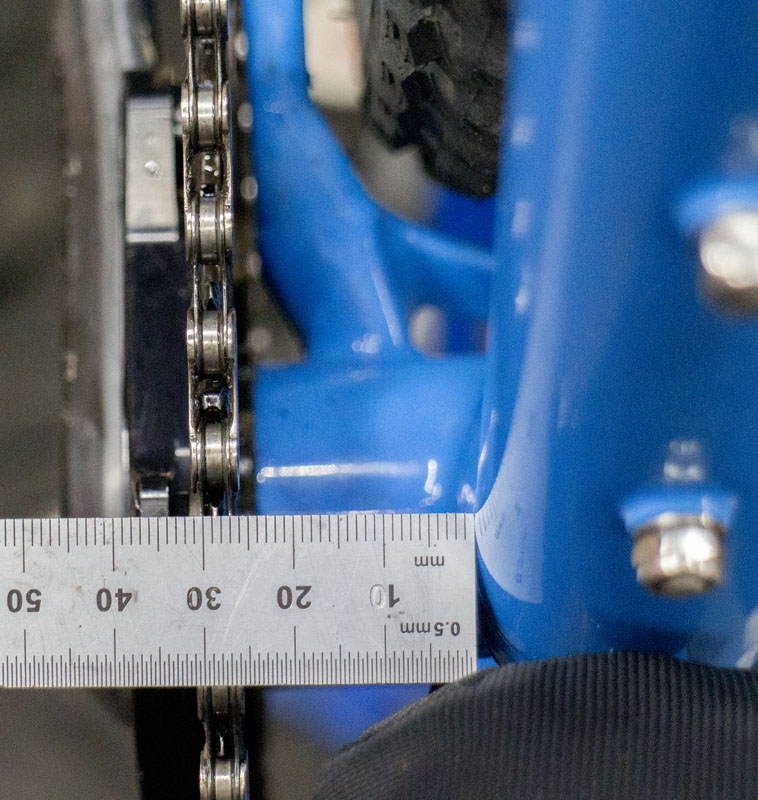
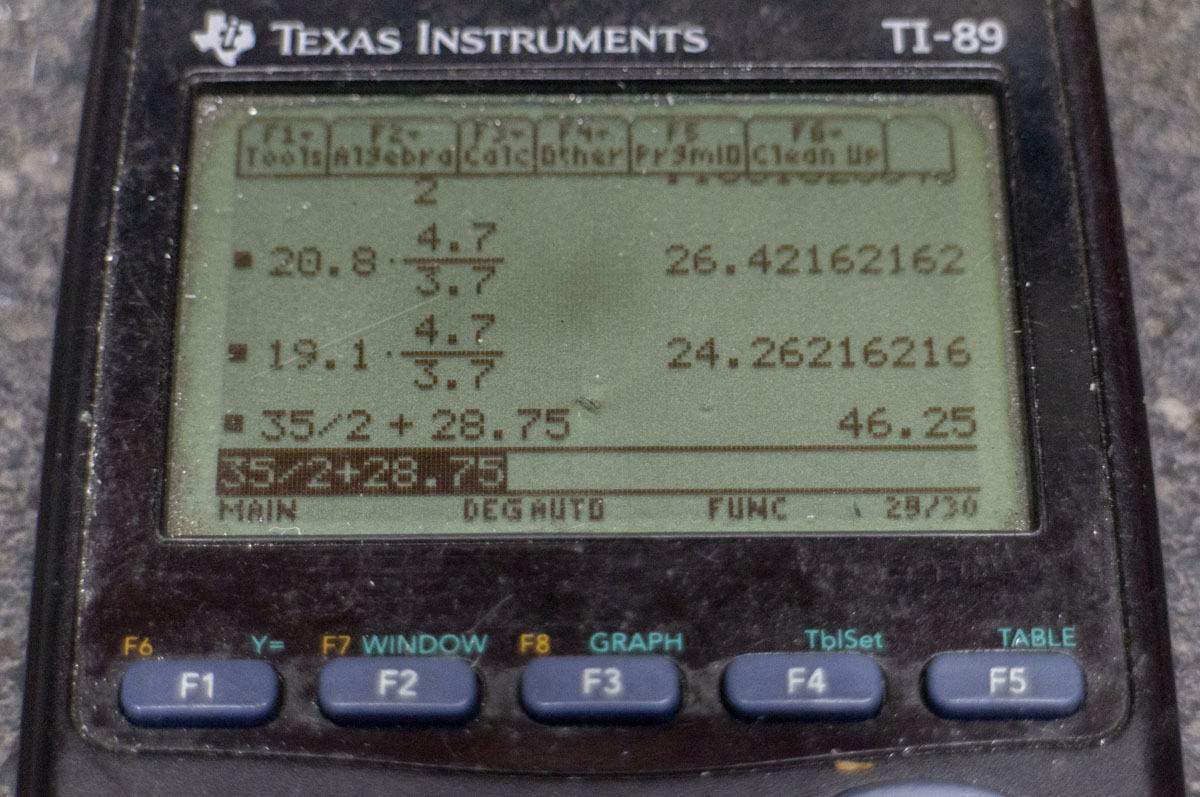
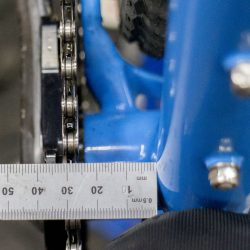
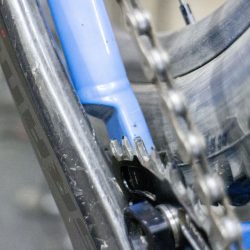
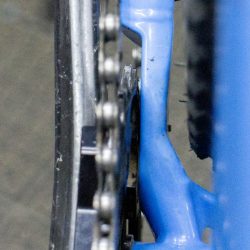
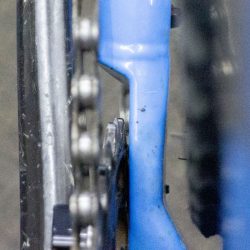
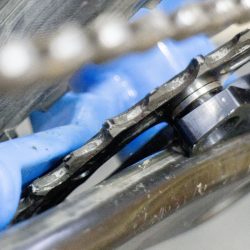
I moved the chainring in some. It had been at a 48mm chainline. I went to 46.25mm. I’m looking for a little more efficiency for climbing and there’s plenty of room to move the chain up on the cassette. This is about the closest that I can get to the yoke. Hopefully, this won’t cause issue when bombing rough in the 10t.
I ordered some 29×2.4 (Aspen) and 29×2.6″ (Ikon) tires to try for even more speed on rough downhill. After that, I start testing with small tires, larger gears, and tiny rotors.
Now that this work is finally complete, I can finish the work on the full suspension design and get parts into fabrication.

