Difference between revisions of "Scanning Properly"
(→The Software) |
(→16 Bit Scan without Scanner Software Levels) |
||
| Line 12: | Line 12: | ||
==The Software== | ==The Software== | ||
My prayer was that the software would be at least much better than the HP garbage. I was rewarded. I am not claiming that the Canon ScanGear software is the best scanning software in the world, but at least I can say that it is truely useful for REAL world scanning. It is a little clunky, but with a little more polish, it could be really good. One really handy thing it lacks is the ability to see dropped pixels during levels adjustment, like photoshop has. | My prayer was that the software would be at least much better than the HP garbage. I was rewarded. I am not claiming that the Canon ScanGear software is the best scanning software in the world, but at least I can say that it is truely useful for REAL world scanning. It is a little clunky, but with a little more polish, it could be really good. One really handy thing it lacks is the ability to see dropped pixels during levels adjustment, like photoshop has. | ||
| + | |||
| + | ==The Image== | ||
| + | |||
| + | This image was chosen because it really sucked, quality wise. It is my wife on a horse as a child. The image is damaged and faded. I scanned it in otherwise similar scaling for all the tests. 600 pixels by 430 pixels, 206% scaling with a heavy crop. | ||
==16 Bit Scan without Scanner Software Levels== | ==16 Bit Scan without Scanner Software Levels== | ||
Revision as of 11:41, 21 November 2006
Recently, I needed to do a bunch of scanning of old photographs for my wife's mother's memorial. I had always been disatisfied with the totally inadequate performance of my HP d135's scanning capabilities. This soley due to the garbage software it comes with. The windows software is almost worse, and an aftermarket alternative software that I had tried (Art-Scan 5) always seemed to crash things or work funky.
Contents
New Scanner
So I say, "That's it. I'm buying a new scanner!" I had owned another HP Scanjet scanner in the past, but I had also been really let down by the software, so I decided that HP was out. I knew that Epson had fairly decent software as my scanner at work had that, but it seemed that Epson was really falling behind in the market these days.
After shopping it through, I decided on a Canon Canoscan 8600F. A $170 scanner that promises slide and negative scanning (surely not as nice as a real slide scanner, but something).
This desision was made for 3 reasons:
- My purchases in the last year of a ton of Canon camera gear centered around a Canon 30D DSLR frame.
- Canon's a solid force in the photocopy image world. (This hopefully atesting to the hardware)
- The product seemed more solid than most others I looked at.
The Software
My prayer was that the software would be at least much better than the HP garbage. I was rewarded. I am not claiming that the Canon ScanGear software is the best scanning software in the world, but at least I can say that it is truely useful for REAL world scanning. It is a little clunky, but with a little more polish, it could be really good. One really handy thing it lacks is the ability to see dropped pixels during levels adjustment, like photoshop has.
The Image
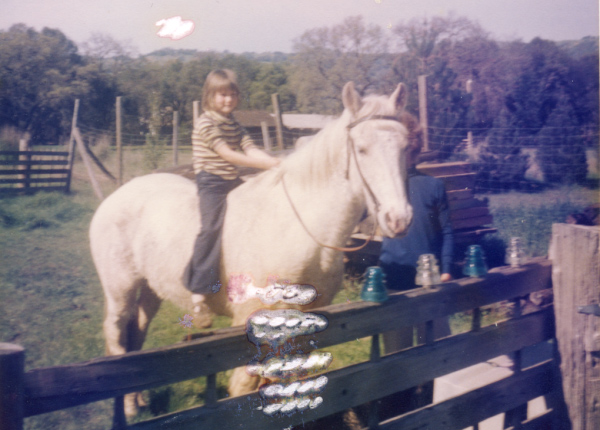
This image was chosen because it really sucked, quality wise. It is my wife on a horse as a child. The image is damaged and faded. I scanned it in otherwise similar scaling for all the tests. 600 pixels by 430 pixels, 206% scaling with a heavy crop.
16 Bit Scan without Scanner Software Levels
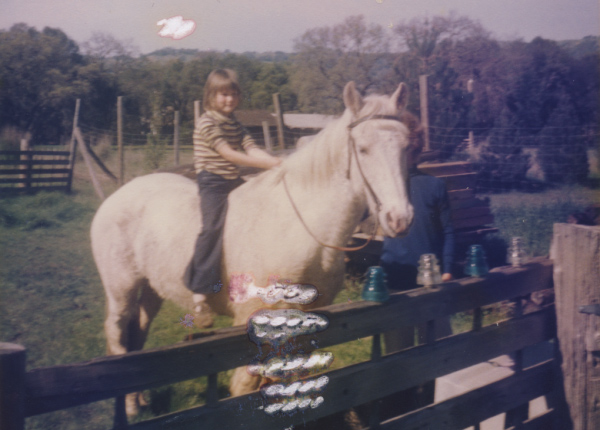
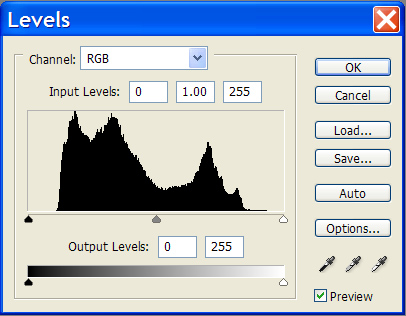
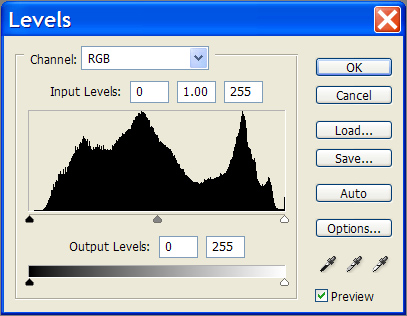
The image adjusted with levels.
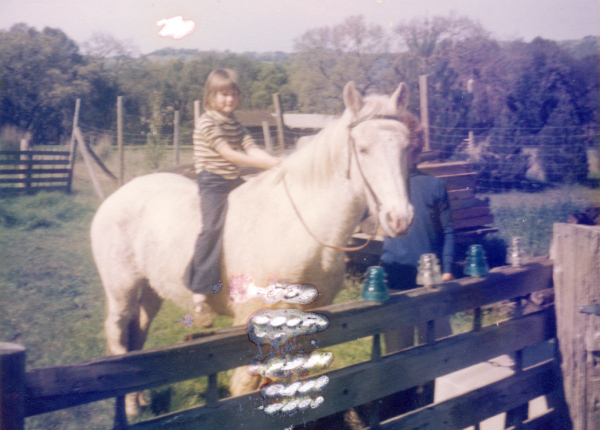
Note that the image has nothing left. Any work from here will degrade the image.
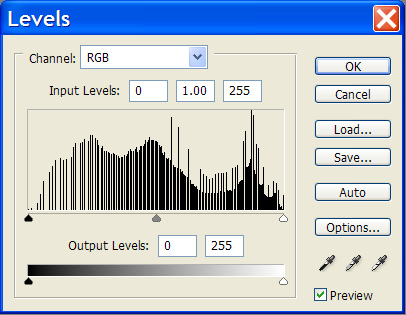
16 Bit Scan with Scanner Software Levels
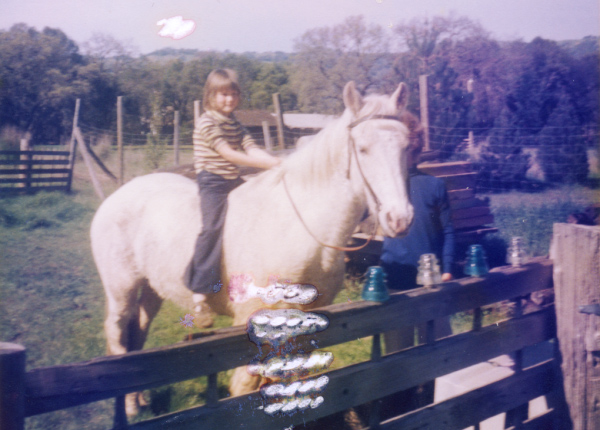
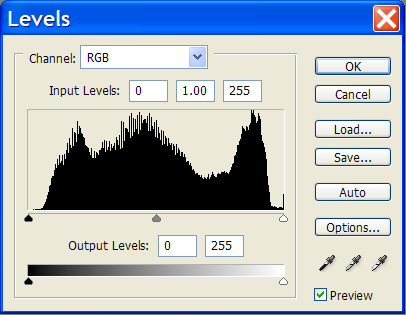
The image adjusted with levels.
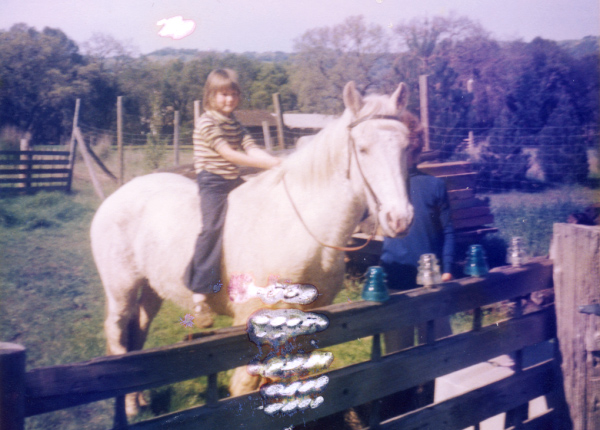
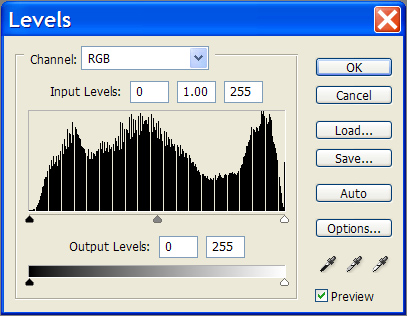
Note how much image is intact compared to not using the scanner adjustment. We can do some work on this image.
48 Bit Scanning
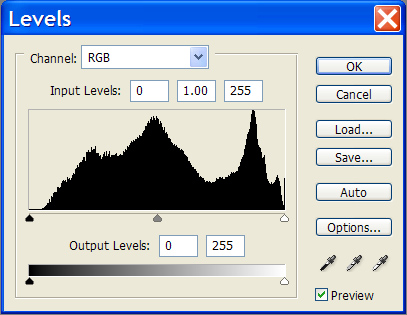
This is the business. Again. Image was sampled from the scanner at 600x430 (48 bit) with some processing at the scanner, some process in photoshop (levels again), then resampled to 600 pixels wide. Note how much is left to work with.
The image adjusted with levels.
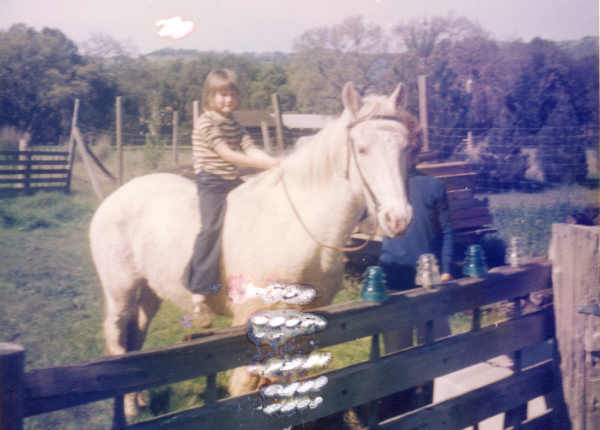
Note how robust this image is! We can do a lot to this image without killing it.
Summary
Lesson learned. Always use scanner corrections at 48 bit. It really makes a difference.