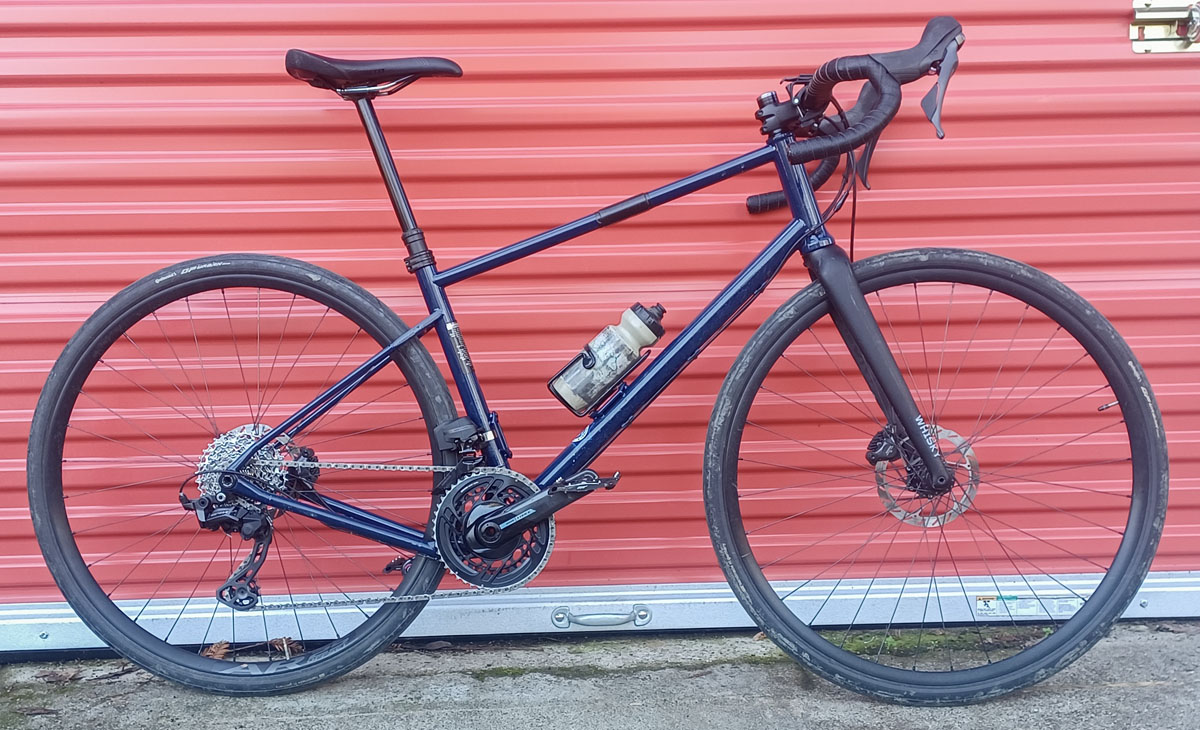
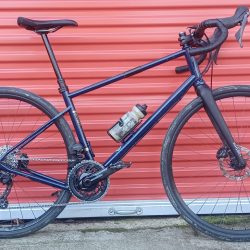
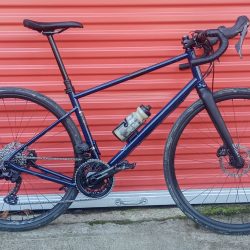
Last year, I constructed a pair of road plus (RD+) bikes for my wife and I. They’re great but they need two more things to finish them off, racks for touring and gearing options. Today, I discuss the latter. Specifically, the ability to use a double front ring option.
It’s also time to finish a project that got derailed (ha!) late last summer. I had intended to show up at MADE with my new road bike and a fancy drivetrain. That would have been awesome but it was not to be. Everything went wrong at the last minute and the project sat.
Using a double chainring on a skinny bike is definitely not trending. There are viable single ring options that have advantages, primarily simplicity and easy tire clearance. Double rings have advantages also, wider ranges and more efficiency. I like keeping options open for different setups as much as possible unless there is a compelling reason to close them. So I left room for the double.
Clearances in modeling is the devil. We want to have the option for the largest tires we can but have room for a variety of chainrings. These two parameters are working against each other and the structure of the rear of the bike. This is hardest on mountain bikes but is important with the RD+ parts.
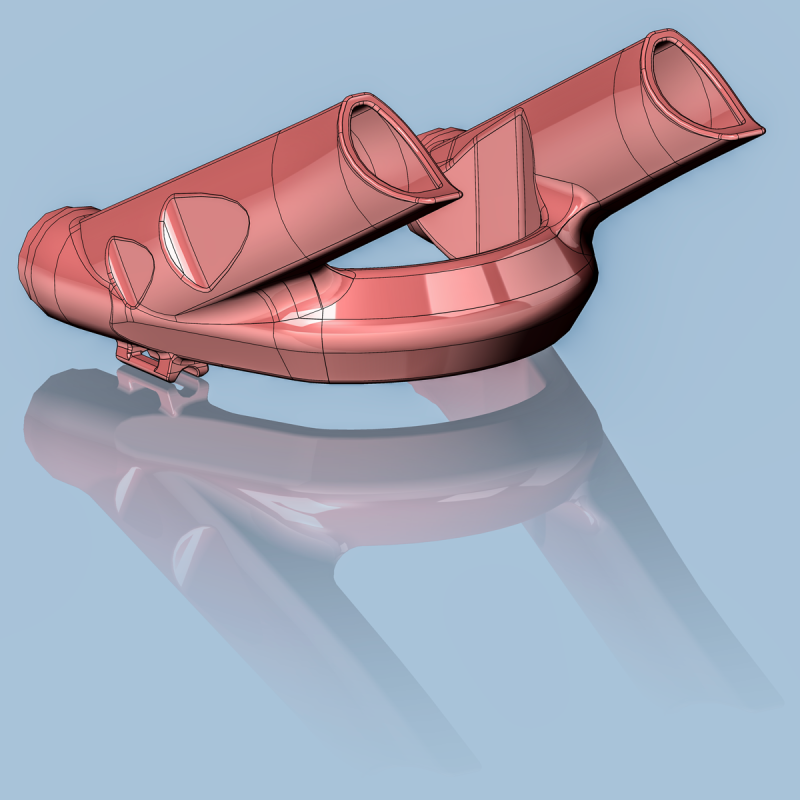
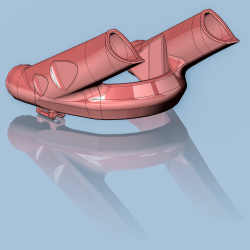
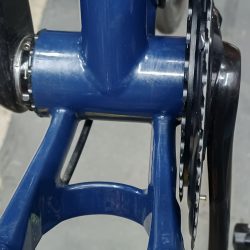
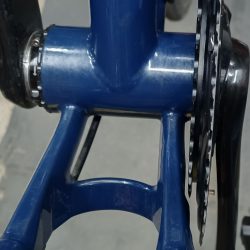
Of course, I ensured that I’d have room for the double rings in the design of the parts for these two frames. This shows up in the yoke design. Because of the shape that I use in my yokes, very little material needs to be removed to make this clearance compared to how much is left. You can see two grooves cut to clear the single and double chainrings. ‘Cross-sectionally robust’ is the term that I like.
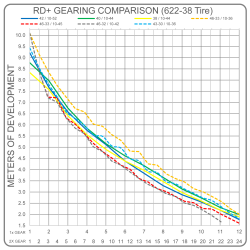
But, what gearing are we really looking for in a RD+ (or AR) bike? A low gear of about 1.9m 0f development is ok for around town. A lot can be done with that. A little lower is probably good for heavier loads and more adverse conditions or long trips. For a high gear, an 8.7m gear is ok. A little taller would be good for faster downhill riding. So a range of 1.6 to 9.0 minimum is probably a pretty happy place to be. 560%. But more is better if well done.
Remember that back with the 2018 PVD Bird of Prey had a whopping 644% gearing. That used a 46-32/11-42 11spd drivetrain. That was pretty epic. We have a different ecosystem now and this build won’t be so wild.
I compared four actual drivetrain options, one imaginary, and one relegated to history. 42/10-52, 40/10-44, 38/10-44, 46-33/10-36, 46-33/10-44, and 46-32/10-42. Currently, the 46-33/10-45 is the imaginary gear. We don’t have the components available (without great effort) that will produce a ridable setup for that.
Realistically, the imaginary 46-33/10-45 and 42/10-52 are the setups that I’d prefer. For every day use, the single ring and very wide cassette wins. It’s a very good spread for what I do and the ease of management is a plus.
I should probably add a ring set from the SRAM Force 43-30 cranks (00.6218.015.004 & 00.6218.015.005). Money is a little tight right now but worth factoring in for future configurations.
As a designer, I do have to look at use cases outside of my own. In those, a double chainring may be preferred, as in honest sport road biking or racing. I need to be able to make that happen.
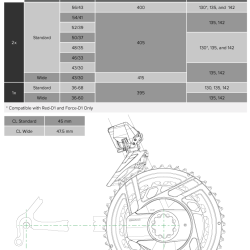
For most folks with a commodity road frame, that’s easy. Slap a derailleur to the seat tube that has it’s axis defined to meet the crank shell’s axis and at the specified angle from the ‘theoretical’ chain stay ( the imaginary plane connecting the crank axis with the rear axis). That angle being 61°-66°, 63°-66° with 10-36 Cassette, 52-39, 54-41, or 56-43 chainrings (per SRAM). This, of course, defines a long antiquated frame design. That’s just not how it’s done anymore.
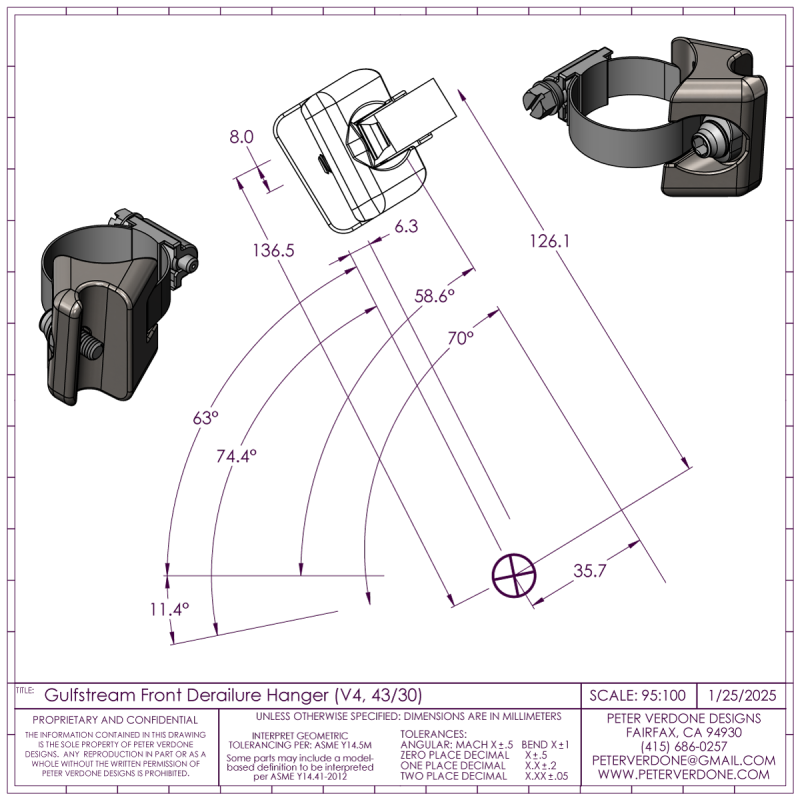
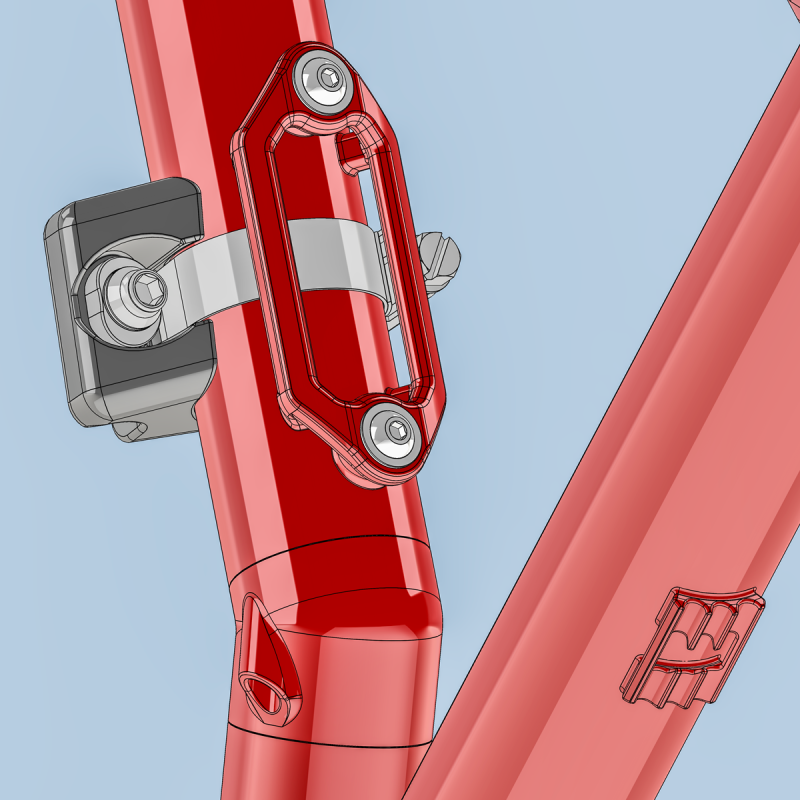
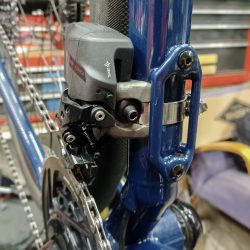
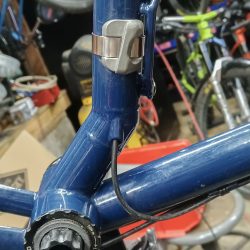
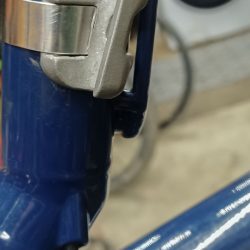
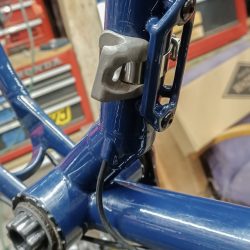
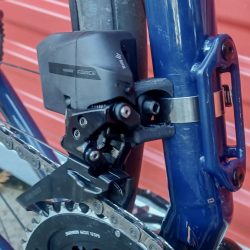
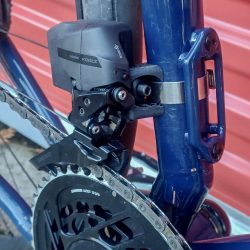
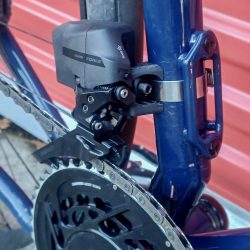
In the case of the 2024 PVD Gulfstream, the 34.9mm seat tube is offset from the crank axis by 35.7mm and 58.6° from the ‘theoretical’ chain stay plane and a 405mm (direct) rear center. This is well outside of the definition for mounting a front derailleur. Worse, because the seat tube diameter is 34.9mm, there just isn’t any room for clamping a hanger to the tube. The bike will be used in a single chainring most often, so a braze-on hanger (carefully placed) is a crude and ugly choice.
It doesn’t help that I have a bottle/cargo mount that is right in the middle of all this that I have to carefully dodge.
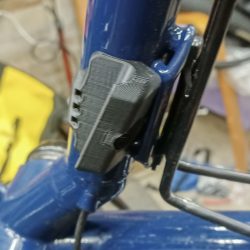
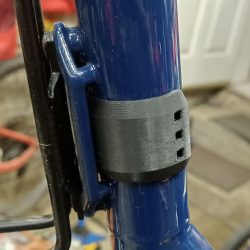
Welcome the the new world of additive manufacturing.
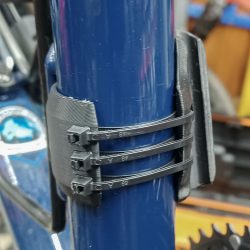
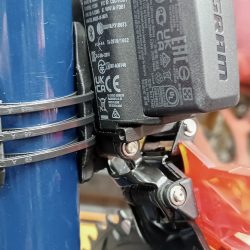
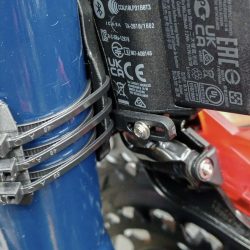
Early in this project, I had tried to make a plastic print to solve this problem. That didn’t work out at all. The bad model geometry (see below) that I was working with left very little room for a way to connect the hanger. I tried some cable ties and DST to make the mount work but it simply wasn’t enough. The mount would move.
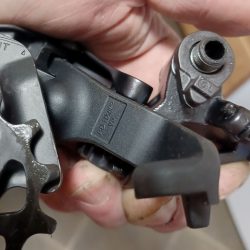
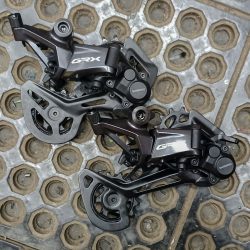
Worse, I had the wrong rear derailleur, the RD-RX822-SGS. I hadn’t realized that this wouldn’t work with a 2x system. This was a disaster.
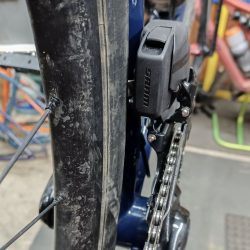
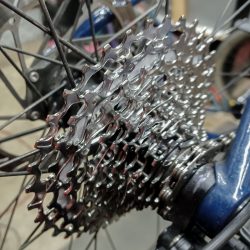
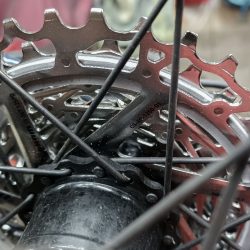
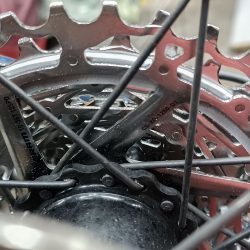
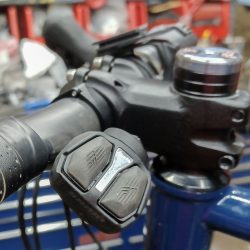
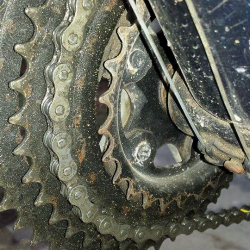
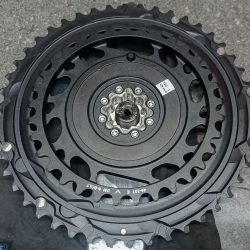
When I got back onto the project a few weeks ago, I swapped out the derailleur to a GRX RD-RX820. It’s not easy to find a cable rear deraillure for 12 speed and 2x drivetrain. This is one of the few. I wanted to guarantee success so I even got a 10-36 cassette to play nice. The double that I’m showing is the SRAM CR-FRC-KIT-D, 46/33 (00.6218.043.000). It’s a bit fancier than I would like but it does the job.
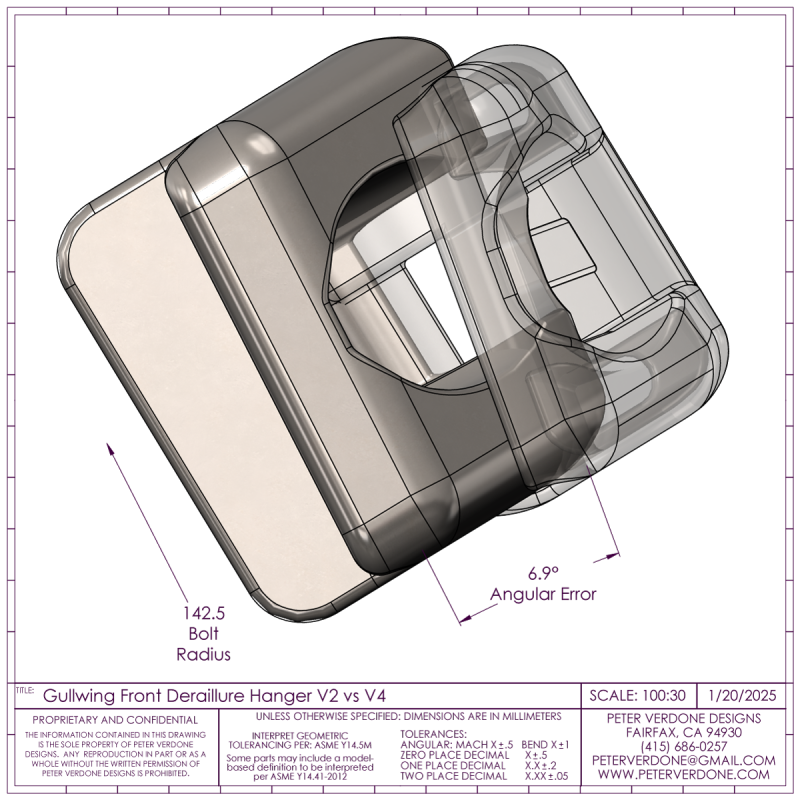
That geometry problem, that I mentioned earlier, continued to my metal printed prototype. I was working with a master part file for the Gulfstream frame. The drivetrain UCS should have been aligned to the theoretical chainstay, the crank axis to the rear wheel axis. Instead it was aligned to the actual chain stay plane, off in space. A difference of 7.4° in those two dimensions. That had real consequences in the shape of the part that I’m testing with, a angular error at the hanger of 6.9 degrees when using the prototype. It also means that the chain doesn’t have much clearance (read ‘rubs’) in the first few gears from 33/10. A new print will fix a lot of this but it sets me back.
Understanding where this issue was coming from only came to light while preparing 2d prints for this post. I tell young folk all the time that 2d print preparation is critical for finding errors in models. Here, I didn’t follow my own rule that would have caught this BEFORE prototype. Not a good look but a reminder. 2d is the devil.
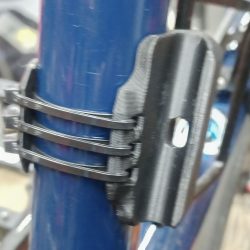
Even with the location of the hanger being off quite a bit, the system was now functional enough to ride. I probably could have ridden this for a few weeks while I waited for new metal prints. After some discussion and design time, it seemed like I may have the room for a plastic print to actually work.
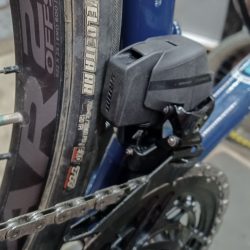
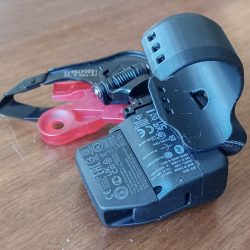
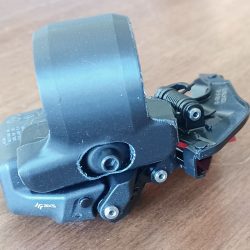
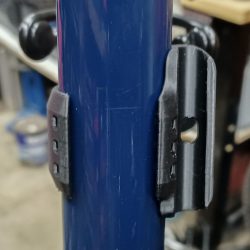
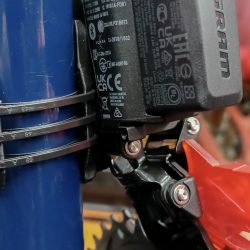
Ronen helped me out with a quick print of the new V3 mount version. He used the Bamboo PETG-CF (Black, 31100) filament for the best chance to match the needs of the scenario without having to wait for another metal print. That turned out nice and is shown below. The shifting is perfect. I will be printing a V4 soon after I do some testing with this. It’s nice to have a system worked out.
Now I need to put a little more work in on the blips and hiding the ugly hose clamp screw.


