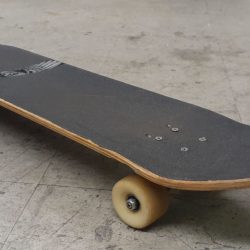
I was forced to give up riding skatepark back in 2008. The years of punishment needed to come to an end. At this point, 11 foot falls to concrete were really starting to ruin my month. Skateboarding is a young man’s sport. Still, the pure joy of cruising down a hill or across town on a nice board was something that I could never give up. At its element, for me, it was about floating and swerving….the ground effect.
Since then, the adult skateboard has been a side project of mine. A board for getting places and having fun. Not for tricks and flips but also not a racing setup. Just a basic skate that fits an adult person and feels really really good. It’s light and easy to port. I tend to put more time into bicycles and motorcycles but the skateboard is always in my heart and gets revisited from time to time. I can’t seem to leave them behind and they are in my blood.
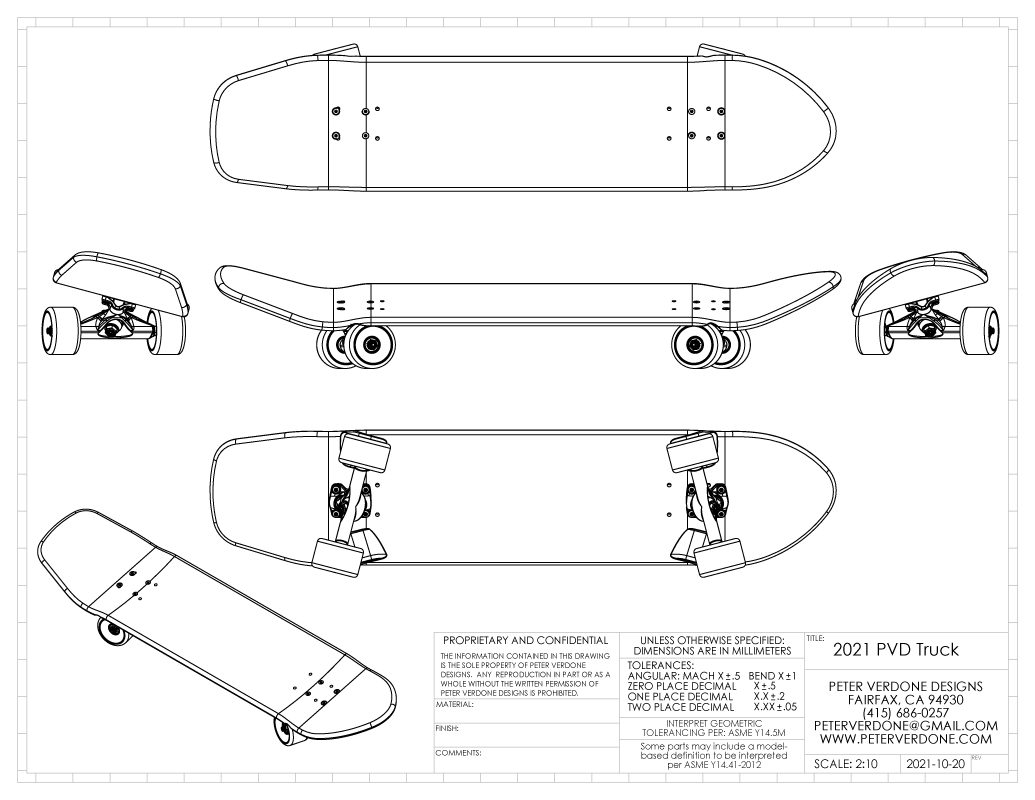
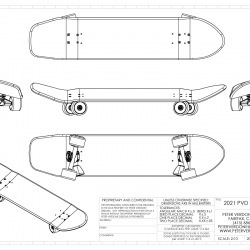
Cutting wood decks to shape was the obvious starting point, that has been explained at length. 62-64mm soft wheels have become a lot easier to get, although they are still quite a bit too wide. The problem has really been the trucks.
Commercially available skate trucks are designed as commodity toy products. They are made as cheap as possible, and so they don’t ever break, and (at best) so tricks of any kind can be tried. If you do a bit of work to them, you can get them to turn a bit and fit the bearings better but that isn’t the biggest issue. The geometry of these truck is really the problem. It is very difficult to get low trucks with good steering at usable widths. 12-year-olds aren’t buying great stuff.
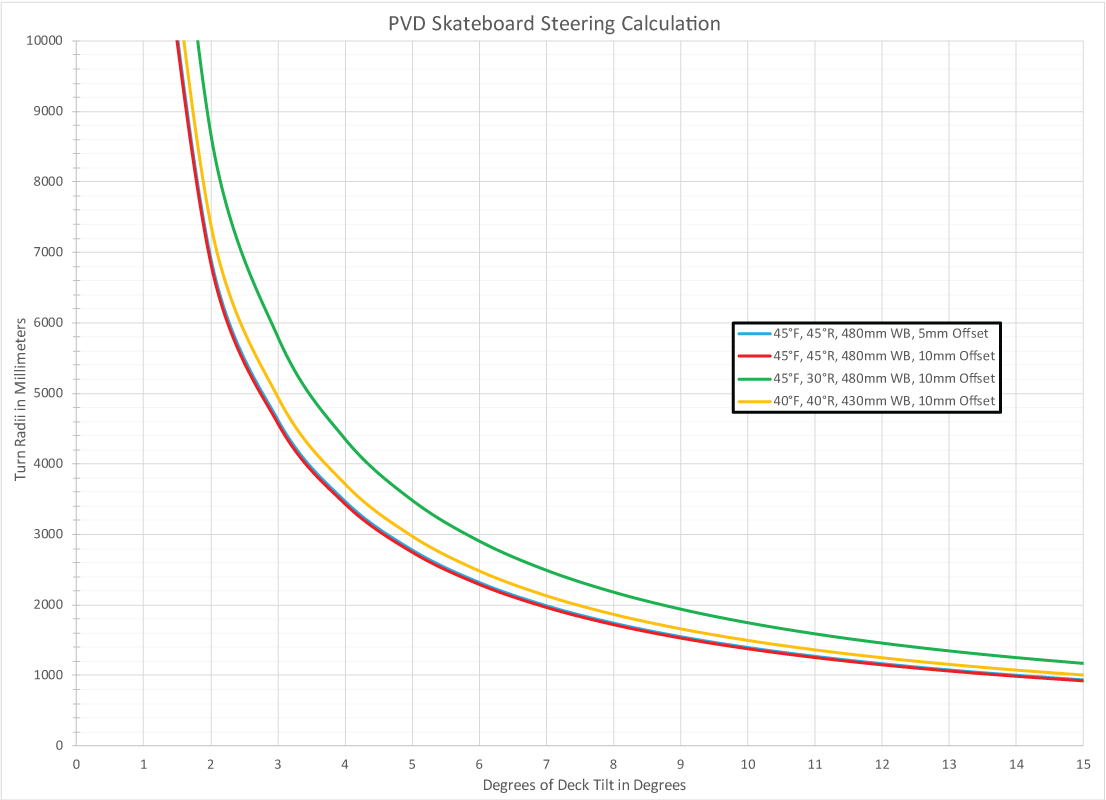
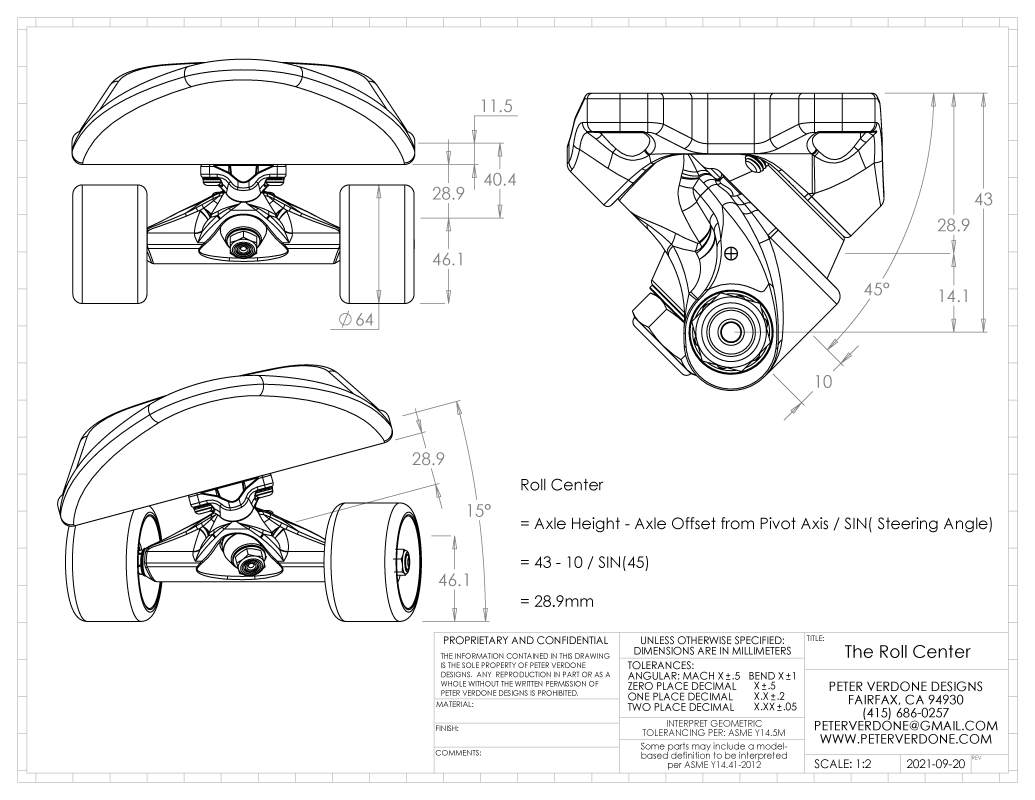
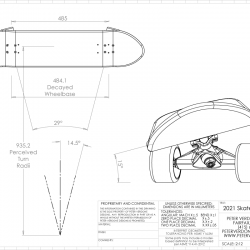
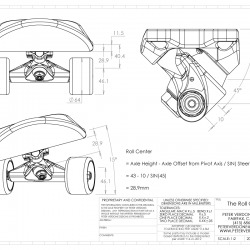
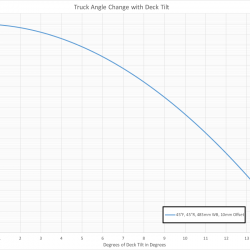
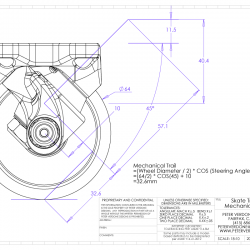
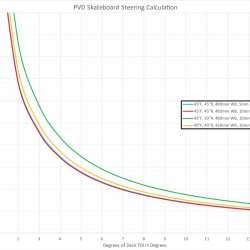
We need to have trucks that steer and as crisply as possible. With my current wheelbase of 480mm, steering angles between 40-45 degrees were estimated as needed. On many commercial trucks, the angles are in the thirties. Far too slack to do much with.
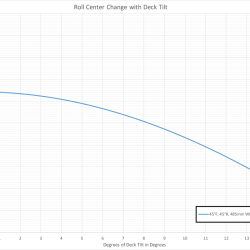
In the plot below, we can see that by producing geometries that make sense, we can have steering that after about 10 degrees of deck tilt we improve the amount of turn by a degree. This helps us lower the board as less lilt give more room for wheels.
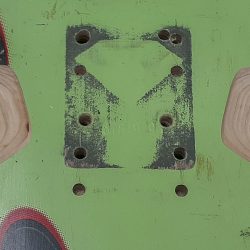
We need to have lower trucks. The OAL height of the skateboard has a great effect on how the body works when pushing. If the deck is too high off the ground, it’s like constantly climbing a staircase with one leg. It’s a lot of work for no good use. Recent builds saw me actually routing out a pocket for the baseplate to buy another 3/16″ of height. I needed lower trucks.
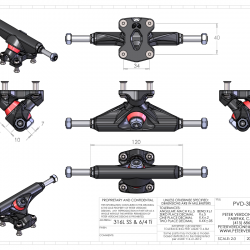
We need more width options. At 185mm (7.3″) wide, these boards had few trucks available that could fit them width wise. The ACE trucks that I’ve been using were fine but were too tall. I needed options.
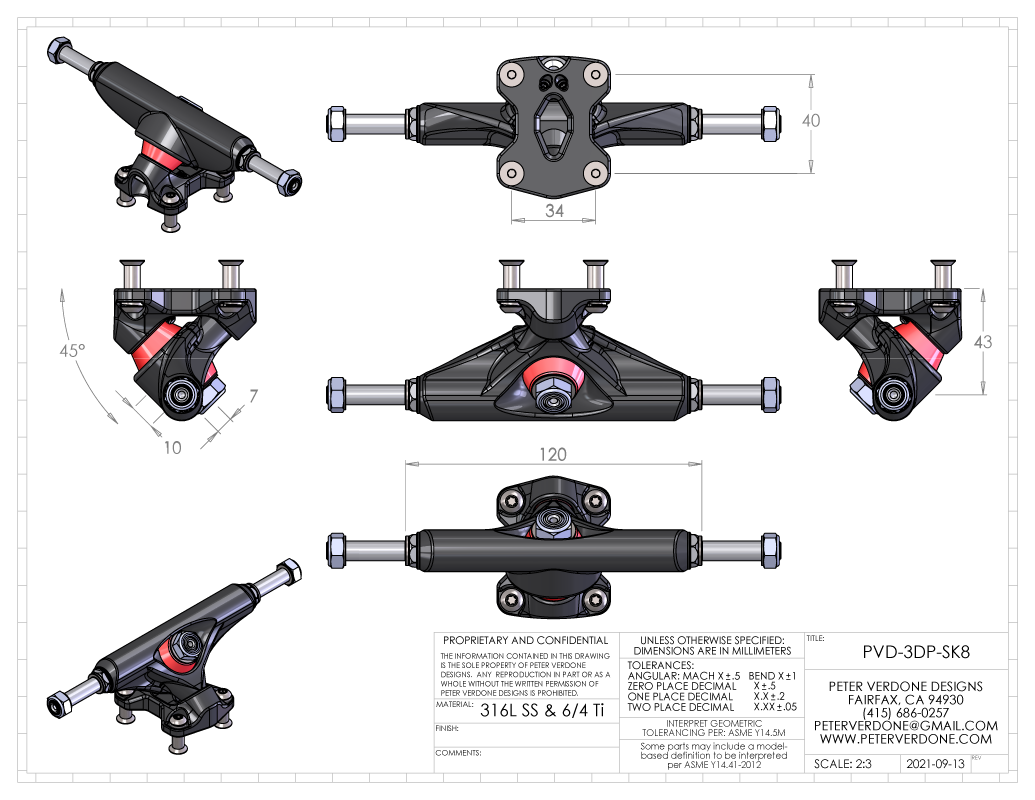
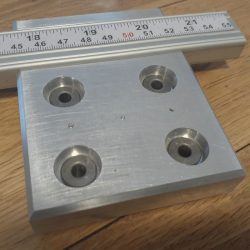
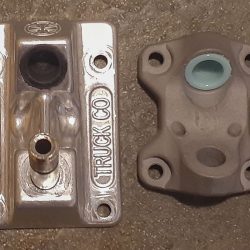
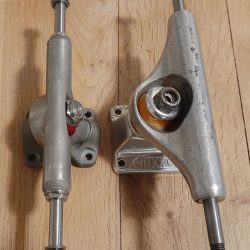
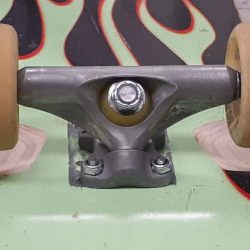
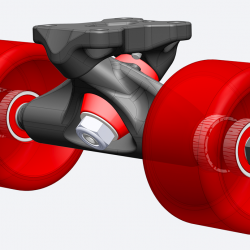
Designing trucks around the primitive existing baseplate pattern proved to be a waste of time. I decided to start trying a sensibly re-engineered pattern that would buy even more space with the deck design. A 34mm x 40mm compact pattern evolved. This will be something that will be useful later when I may be working with carbon fiber deck designs. I designed this truck to use #10 or 5mm countersunk screws in a traditional configuration but more in a nicer metric sex bolt system. That requires holes being drilled at 6.5mm diameter. I need to improve this interface if I start making carbon decks.
Another factor drove this decision. When on the streets or at a skatepark, the tail is often blocked on a curb or coping. Getting clearance for that with the geometry of the truck shown meant that the bolts needed to move inward. The axle ended up being centered over the bolt pattern, unlike any other truck I know. We will see how this works out on the street.
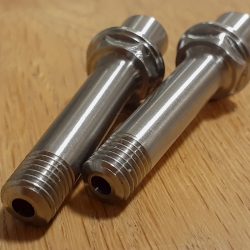
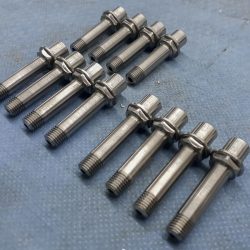
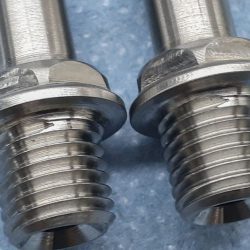
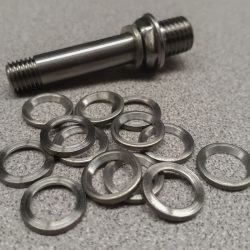
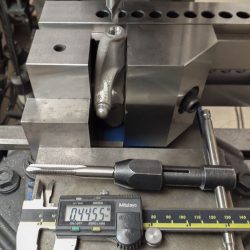
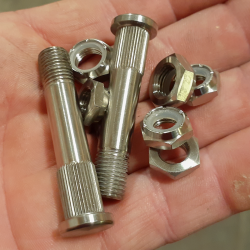
Titanium axles and kingpins shed a bit of weight from the design. Every little bit helps. To ensure the strength and durability of the axles, large radii were used at the transition from the shaft to the lug and the thread to the lug. Titanium is very notch sensitive and reducing this stress is critical. Thus, a specially engineered washer is used between the bearing and the axle face to clear the radius. A special chamfer is also used on the hanger side to give room for the radius while removing as little material as possible.
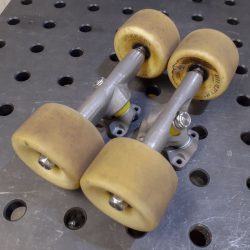
I’ve been experimenting with the use of roller skate wheels to reduce the weight and parasitic losses to the board. Since the bearing spacing on roller skate wheels is 0.300″, rather than 0.400″ for skateboard wheels, I made two different axles that would accommodate either wheel choice.
The trucks should also have limit screws to be able to ride looser trucks right up to the edge without getting wheel bite. I came up with a system that works but needs improvement for better usability.
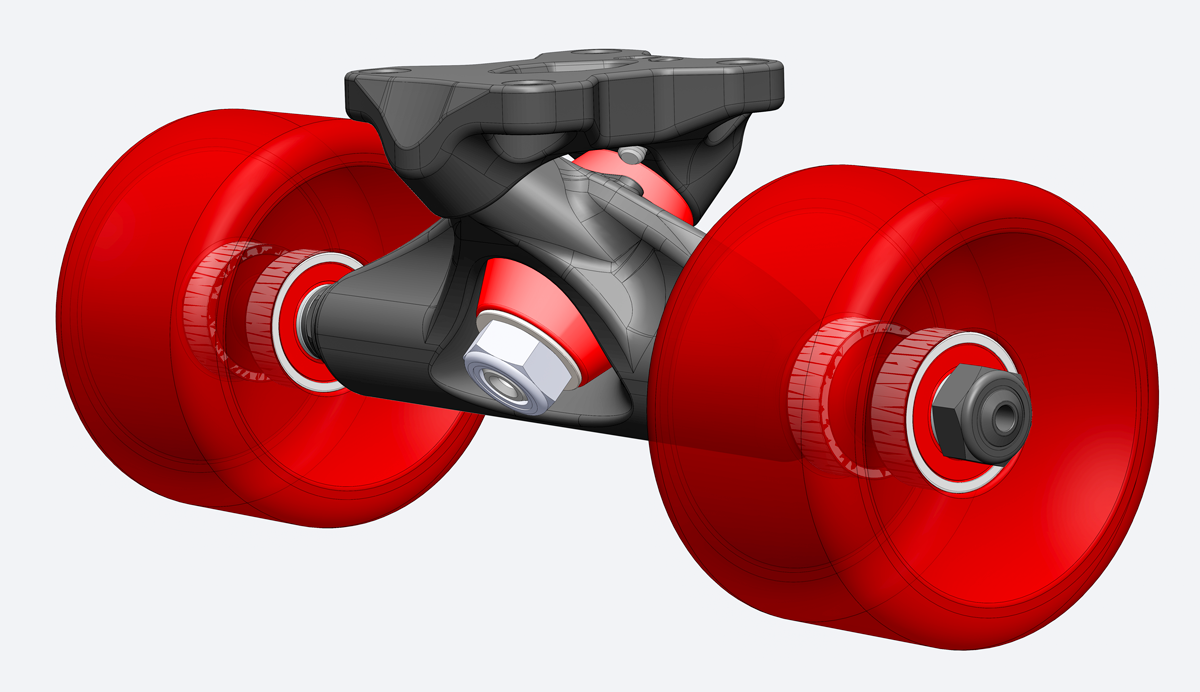
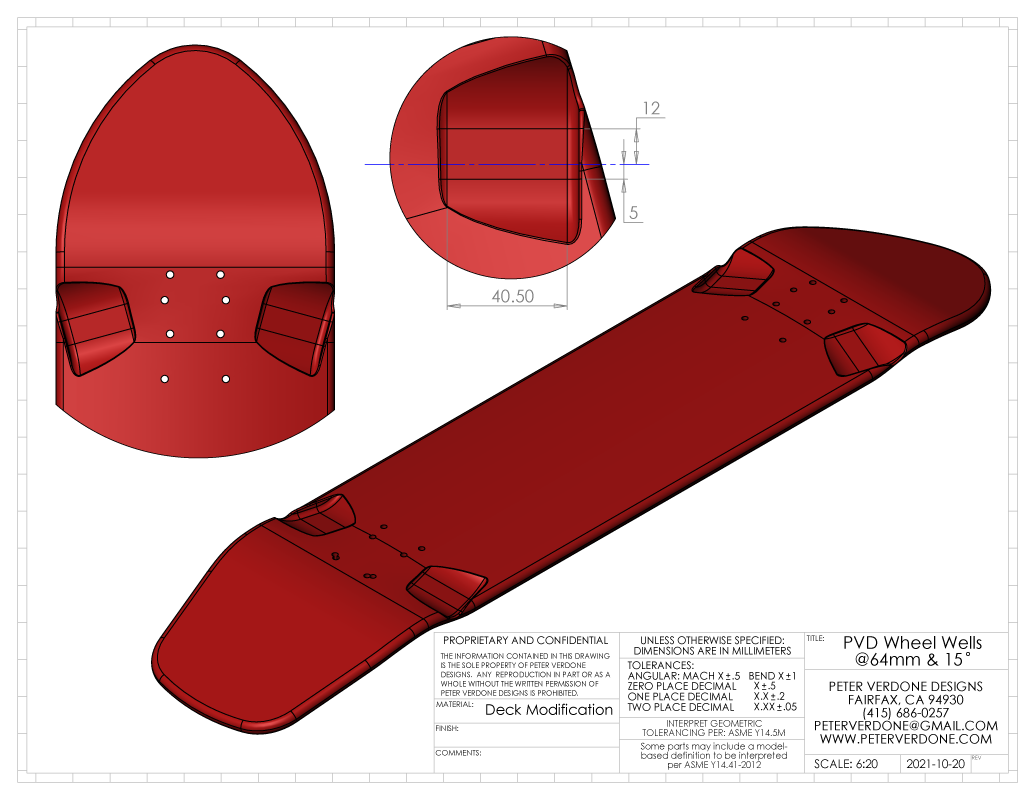
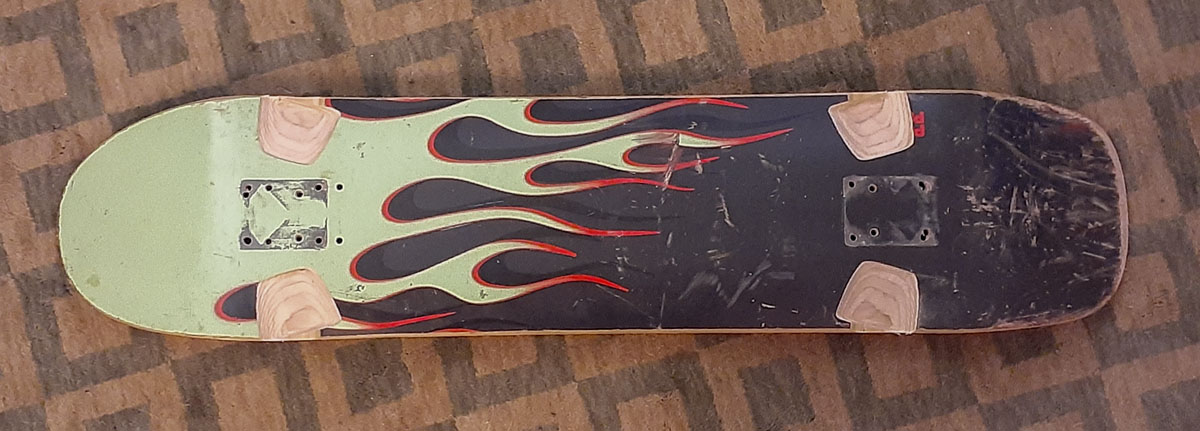
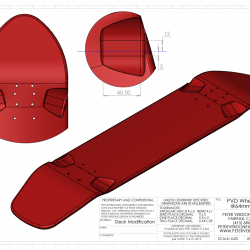
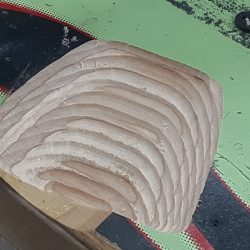
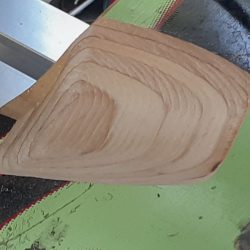
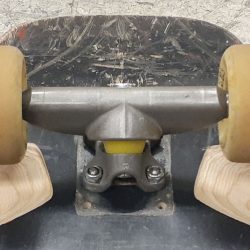
Well placed and CNC cut wheel wells are integral to this design and give the added turn needed at the low heights. A few years ago I did some work on wheel wells. I got some value from that but was left unhappy with the end results. By basing my cuts on true modeled clearances and using a CNC router, I’d be able to remove less material and get more clearance. This is the way to do it.
An interesting thing about the wheel wells is that they need to be cut with a bias toward the hanger getting shifted to the slacker orientation. Forces in the double action truck want to push the hanger well off of it’s theoretical path. I gave it 7mm more (12mm vs 5mm) clearance on that side which is still cutting it close as I tighten up the truck pivots.
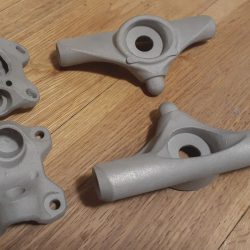
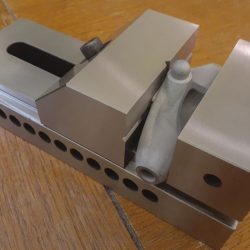
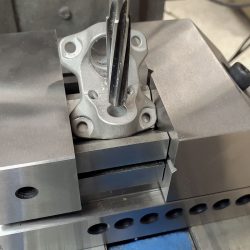
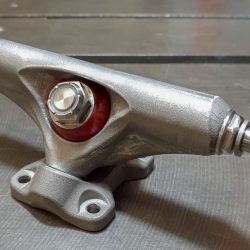
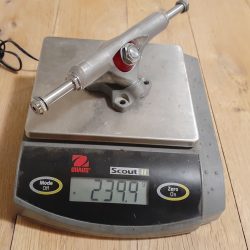
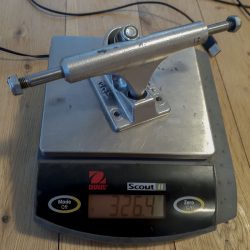
The trucks were printed in 316L stainless steel. While I would love to have printed to aluminum, this will be well off in the future. That process is still evolving in industry. The stainless steel costs about 1/3 the cost of printing to titanium, which would be very fancy. The cost on these trucks is already way outside of any reasonable budget for skateboard trucks.
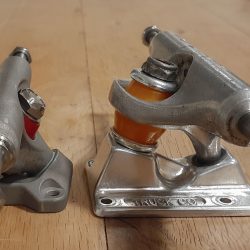
I worked with Brad Miller at RipTide Sports to establish some bushings that worked with my design and were easily available. We ended up with 0.600″ APS Cone busing for the bottom bushing and a 0.500″ APS Street Cone for the top. An delrin pivot cup makes the steering more crisp. Real world testing will begin with 90a (yellow) durometer set which seems pretty good in initial tries.
Due to cost cutting, I didn’t have perfect prints. It’s also difficult to get great finishes on 3D printed metal without getting very aggressive with abrasives. I’ve been tossing around a glass bead blast finish or a black oxide after bead blast. I’m still working on smoothing out the parts so this will be the last thing I work out. I will post photos in a future post once the final finish has been worked out.
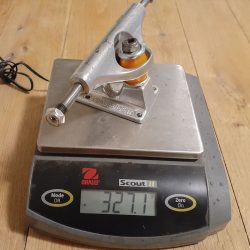
Now that I have a working prototype of my design, I can evaluate if weight could be saved by using less material overall and designs that reduce weight at the expense of overall strength or stiffness. It seems like there is a ton that can be done in this effort.
Obviously, I found a bunch of issues and missed opportunities while getting all of this together. That will always happen although better work would minimize that. The big one was moving the limit screws to the hanger side. It’s easy to get lost in a model and where it started can limit how you think about it ending. I didn’t think I had the space for this on the hanger but clearly I did. Another was integrating the kingpin key into the printed model. That due to a change of design intent after the prints were in production. Otherwise, it’s just some clearances here and there as well as fillet sizes. Good for a prototype but another print will be made to include these details.
2021-10-20 – Testing officially begins.
The feel of the trucks are pretty nice, obviously. They have a mixed feel of a true pivot truck and a double action. There is needed improvements to get this closer to feeling like it’s precision without actually being one. I feel like there is still some slop that need to be removed. I need to formulate more of a grab on the bushings to keep it together.
The axles are superb combined with the quality bearings and alignment.
The low height still feels quite strange. I may add more steering to the next round to get a little better slow speed control. I worry I may have made the trucks a little too low for getting all the needed turn but I’m investigating that.
I got a lot of help from Nick Hays and Brad Miller while doing this project. Projects are always hard but without the help of others they can rarely get done. Thanks to these guys.


